🛠️Build Instructions↗ Full Guide🖨️Mochi 3D Print Files⬇️ Free Download🖨️Nougat 3D Print Files⬇️ Free Download💻Firmware Source⬇️ Free Download
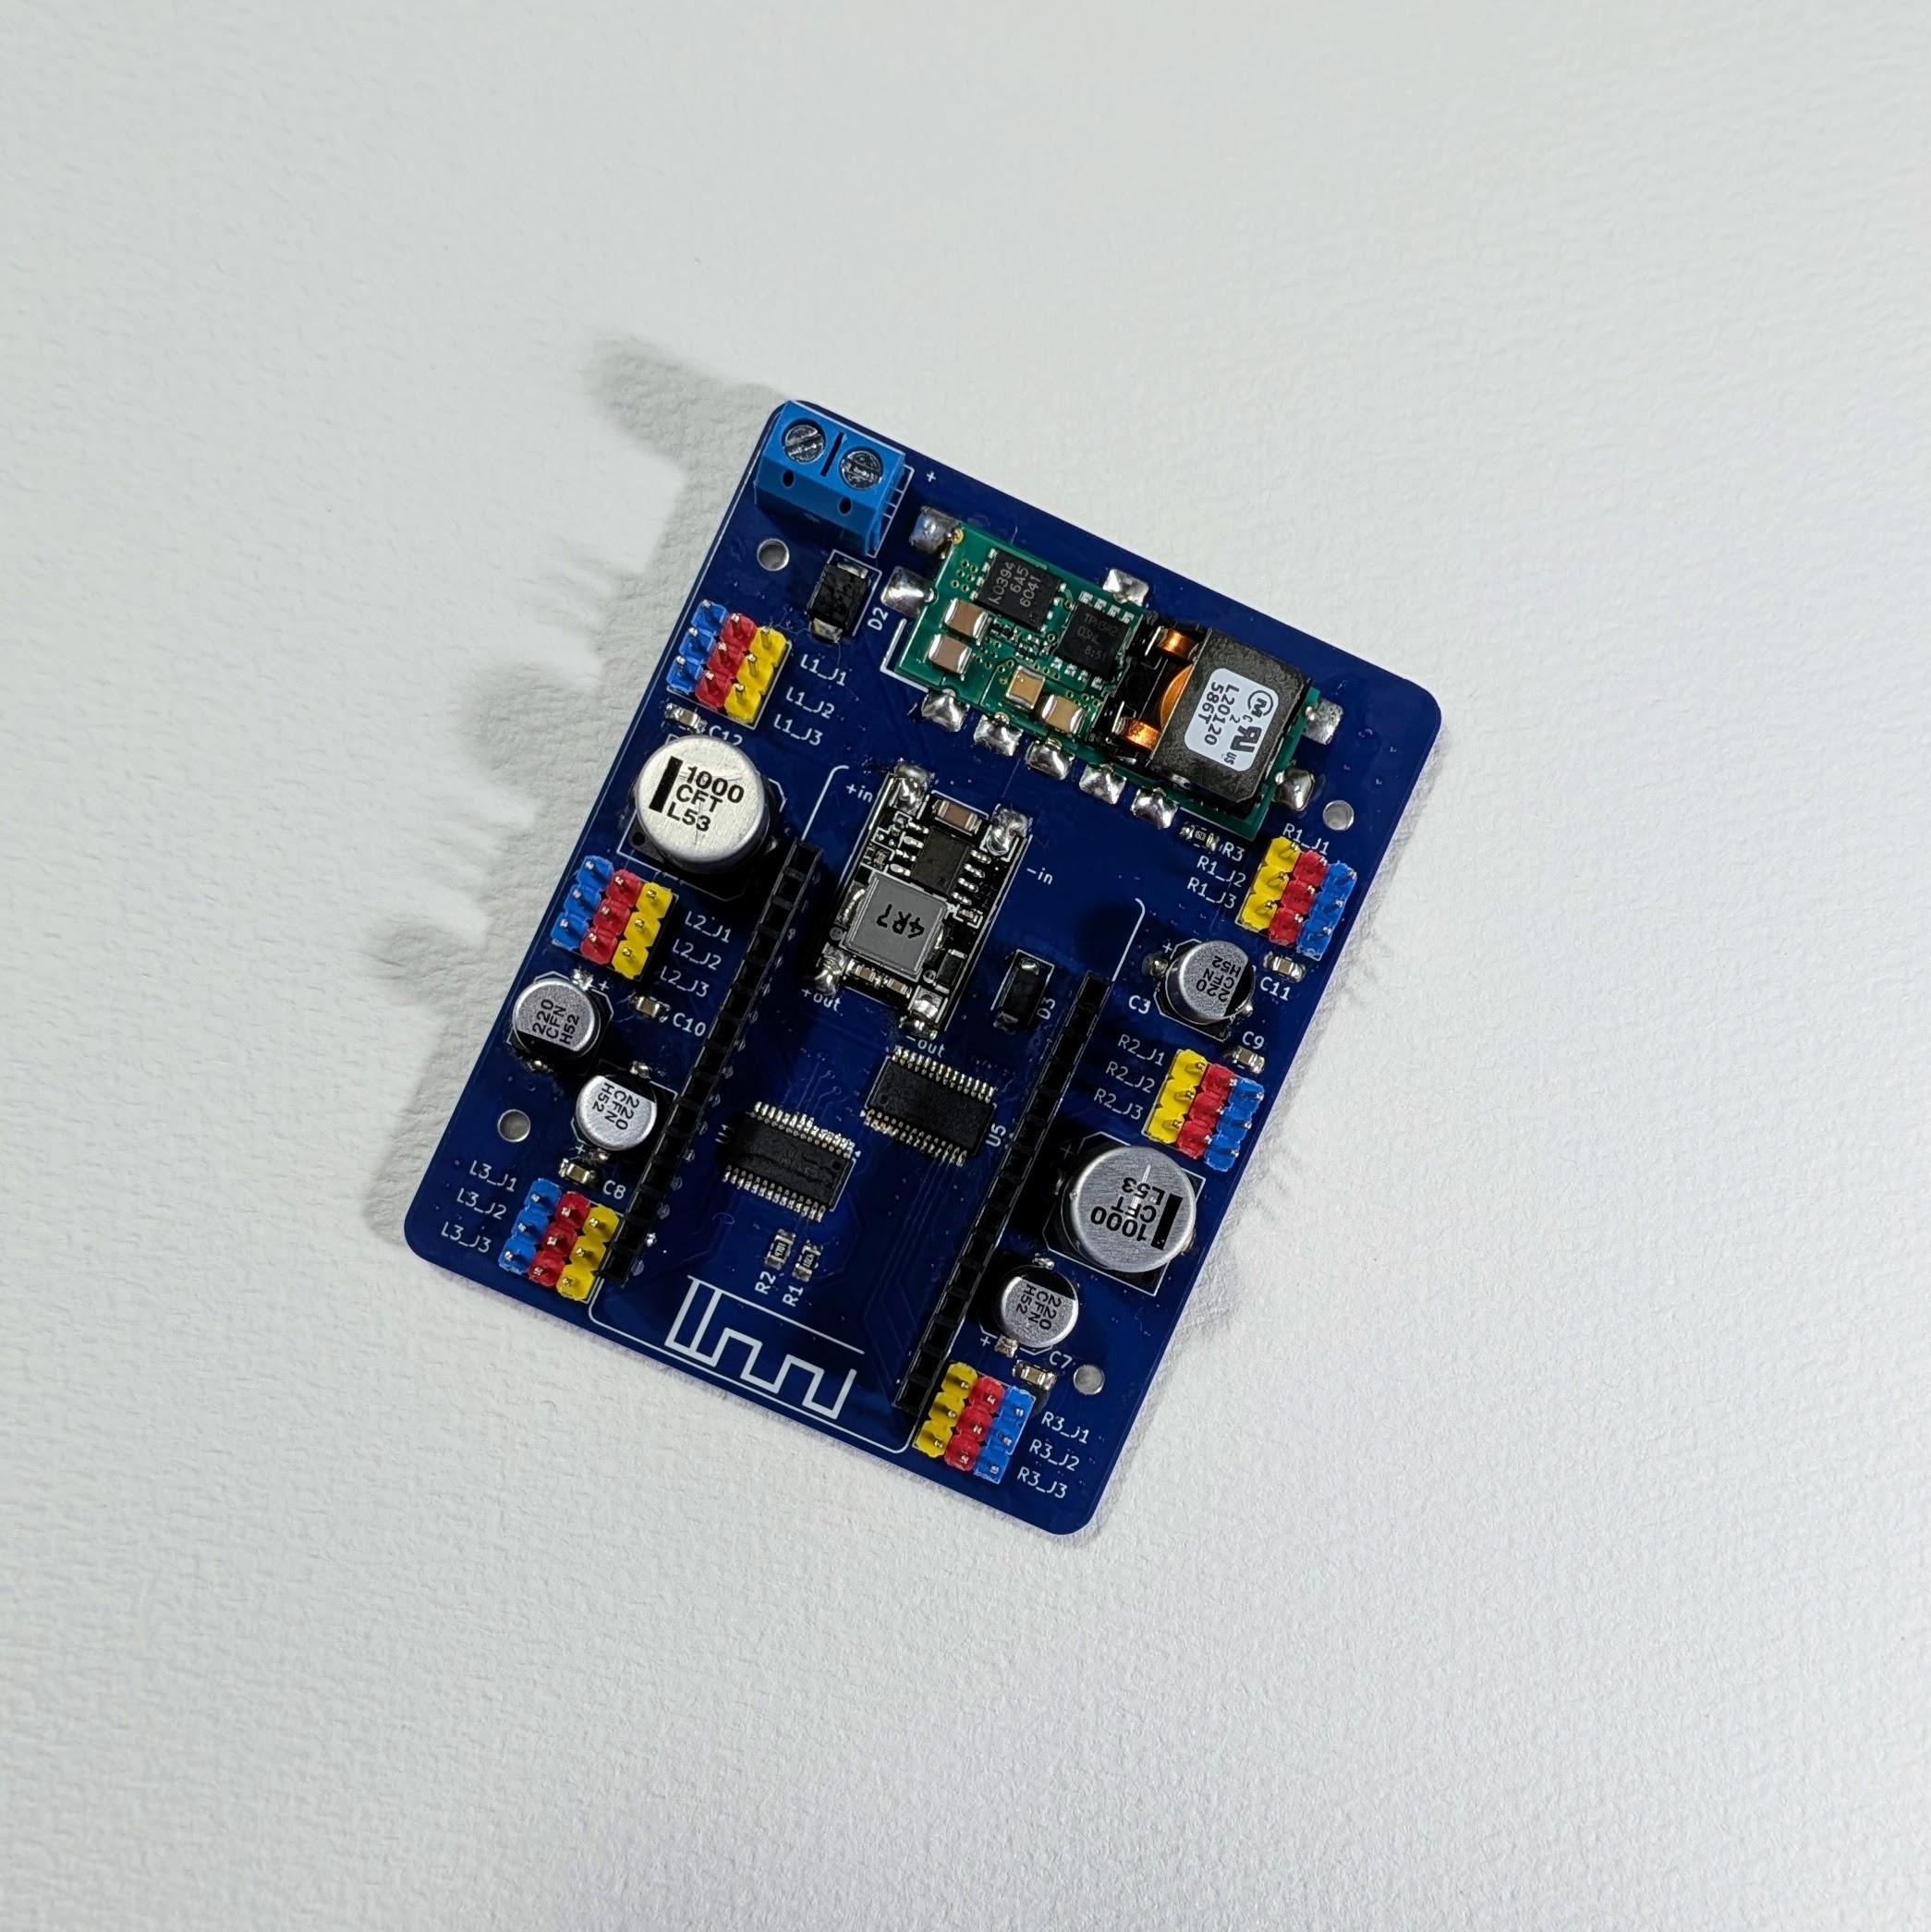
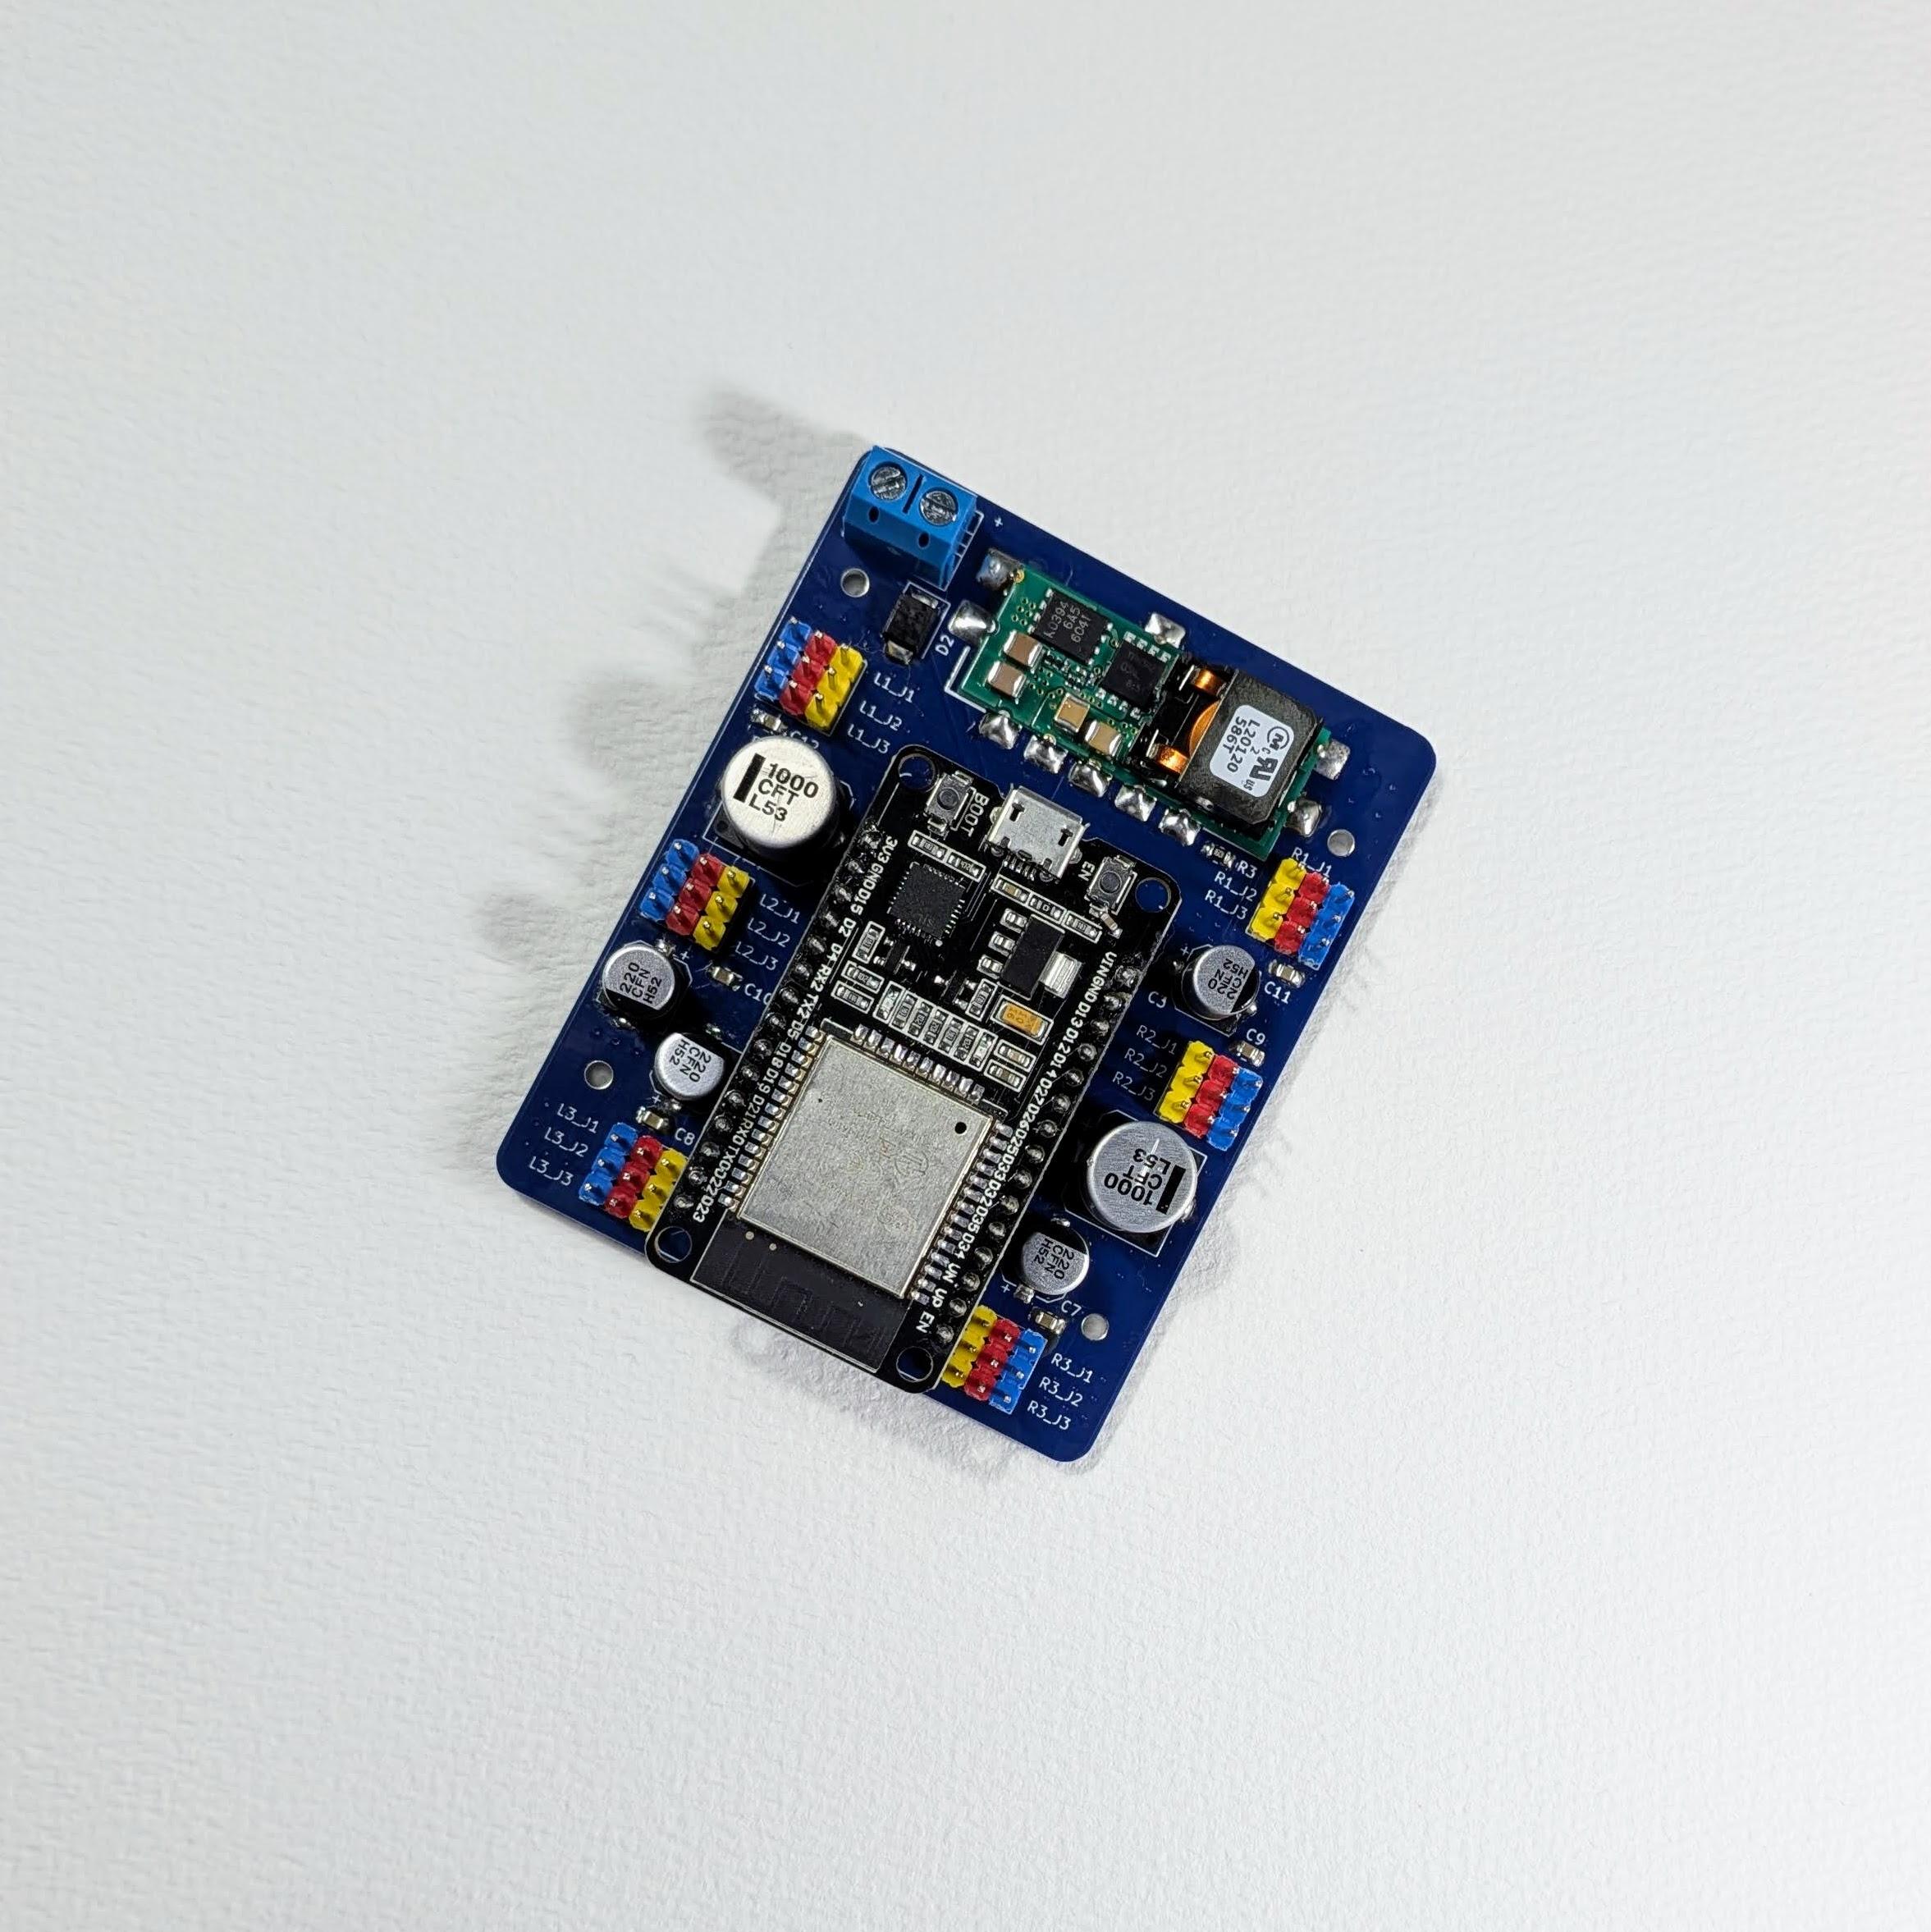
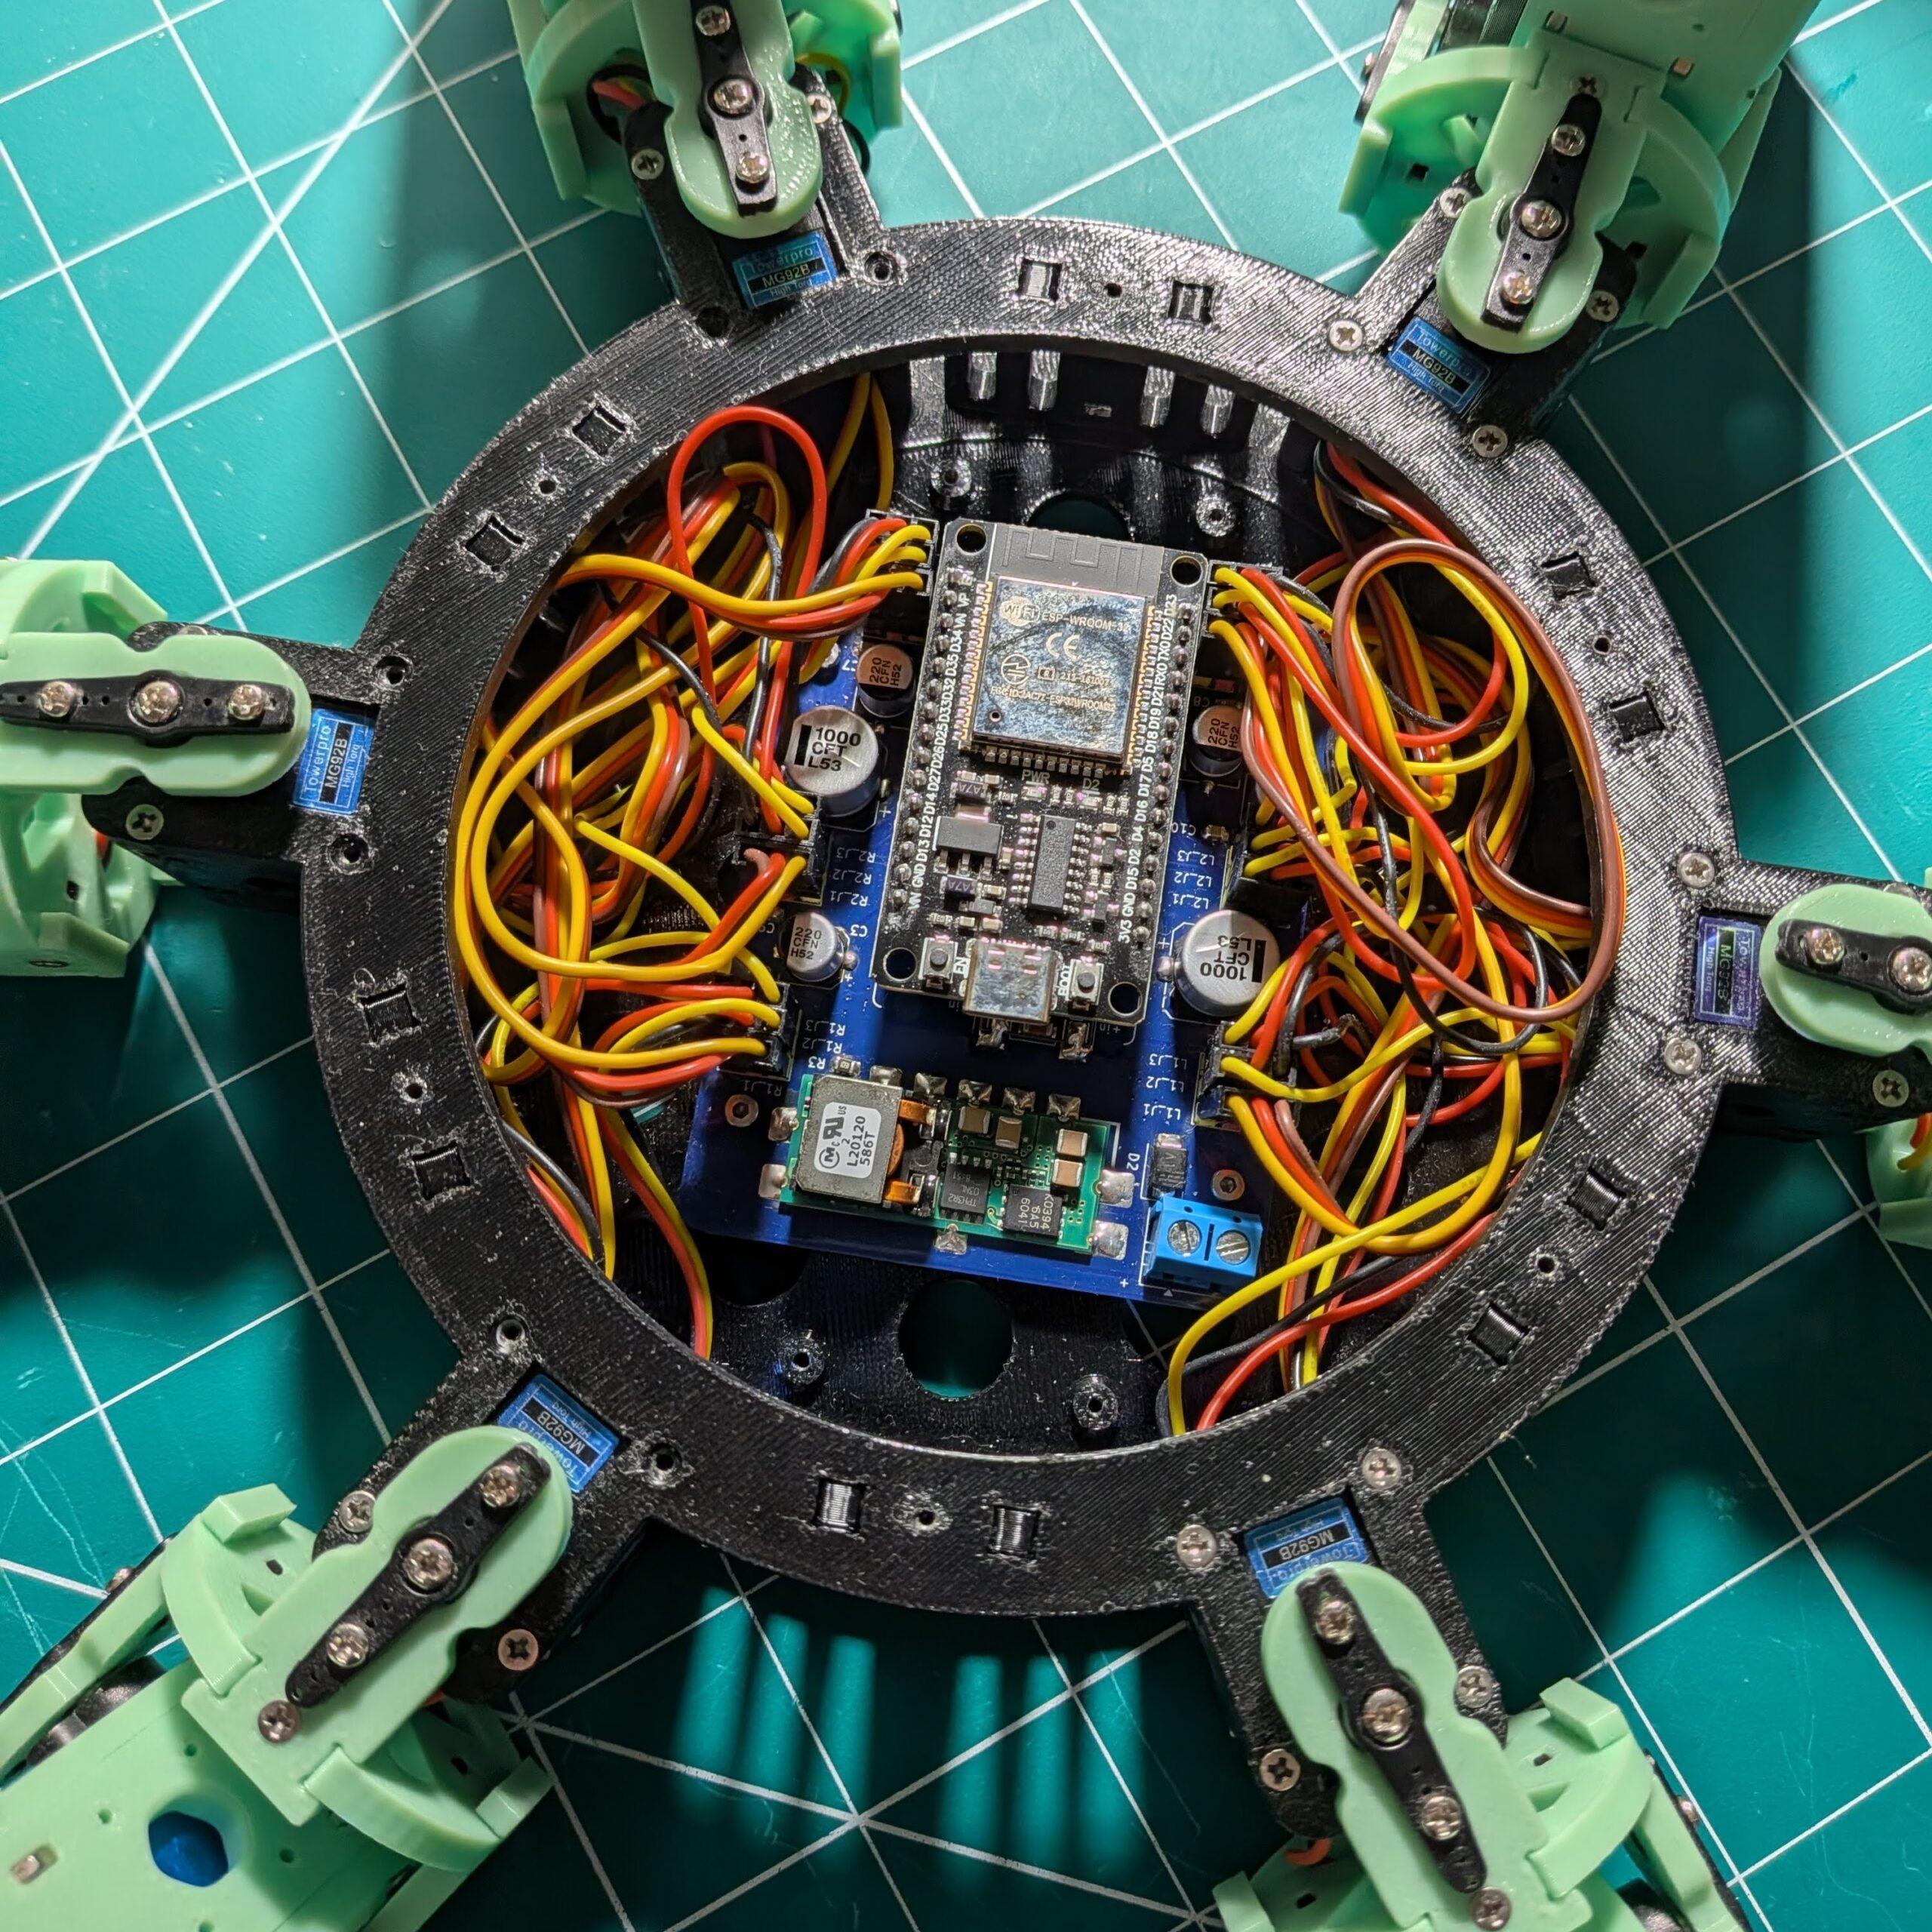
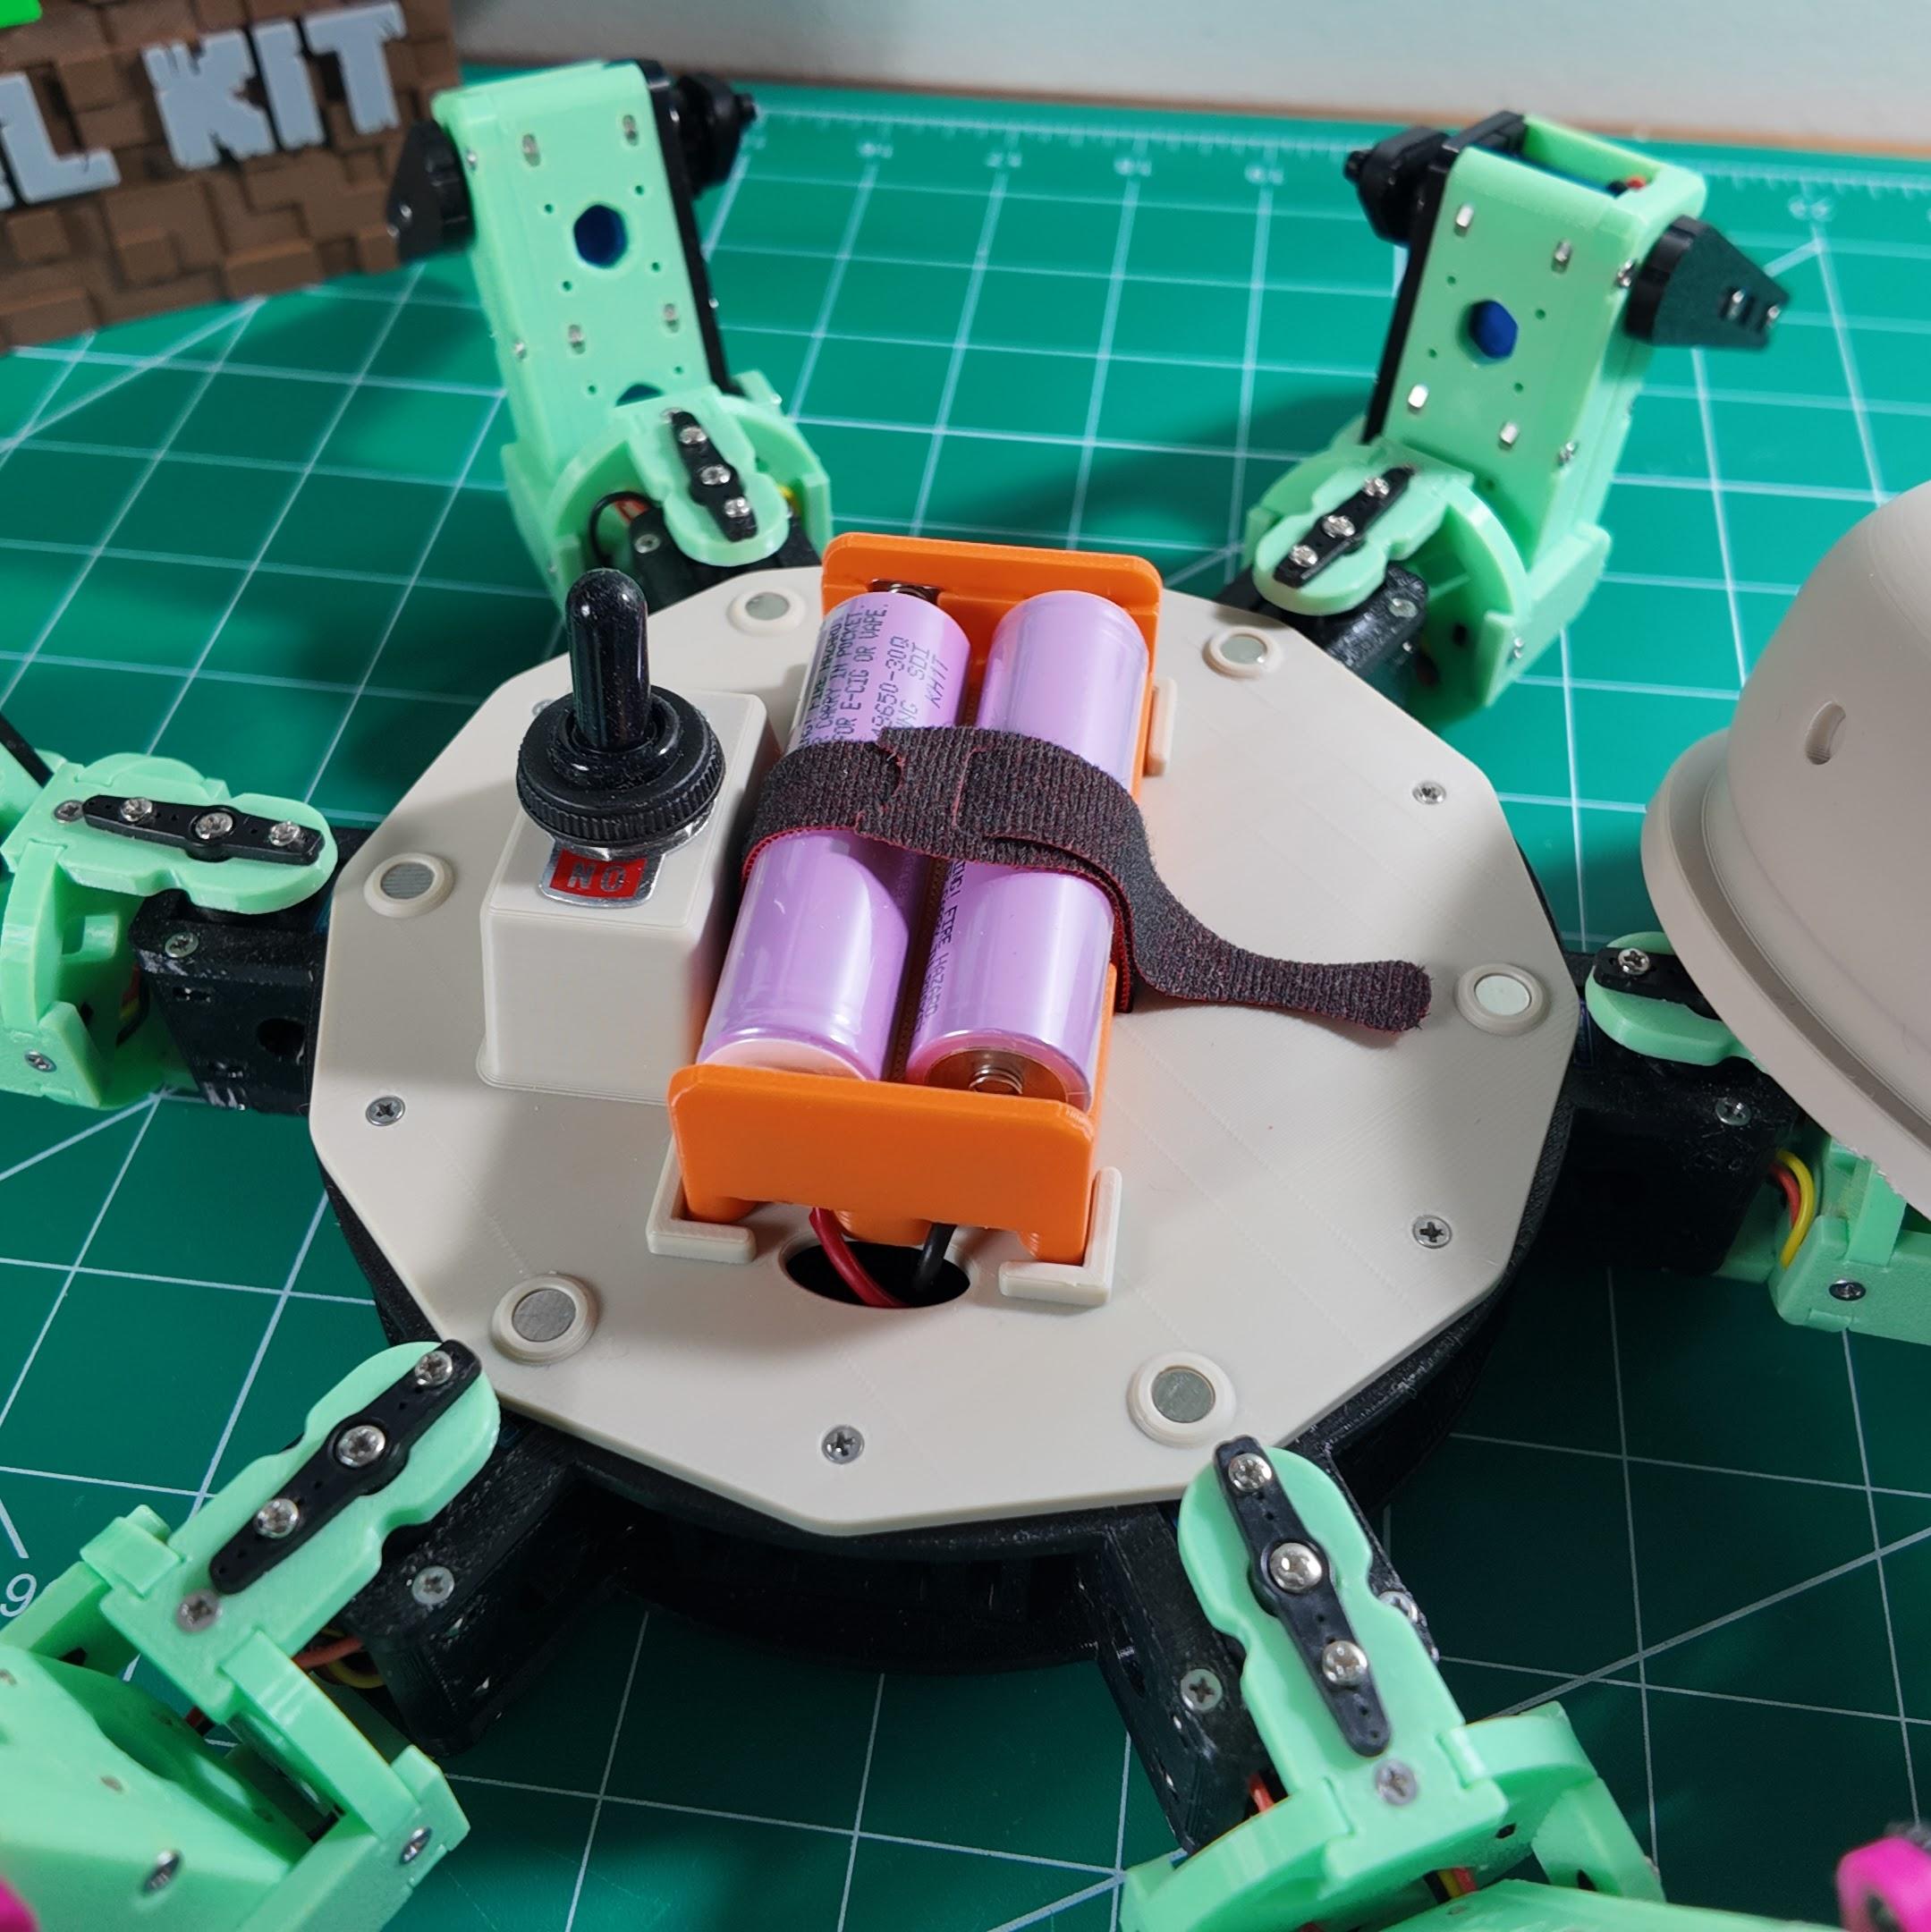
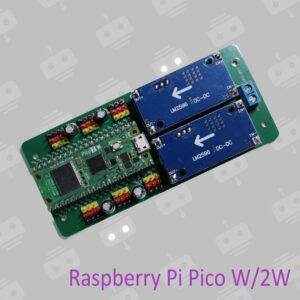
The Hexapod Controller Board (Mochi & Nougat) is the custom ESP32 carrier PCB that powers the RookiDroid Mochi and Nougat hexapods. Every servo header, both PWM drivers, and power distribution are on one board, so you don’t need a breadboard or a pile of jumper wires. Plug in your ESP32 dev board, 18 servos and a 2S 18650 battery pack, flash the open-source firmware, and your hexapod is ready to walk.
Key Specs
- Microcontroller: Socket for an ESP32 dev board (not included)
- Servo drivers: 2 × PCA9685 16-channel PWM drivers (I²C 0x40 left bank / 0x41 right bank)
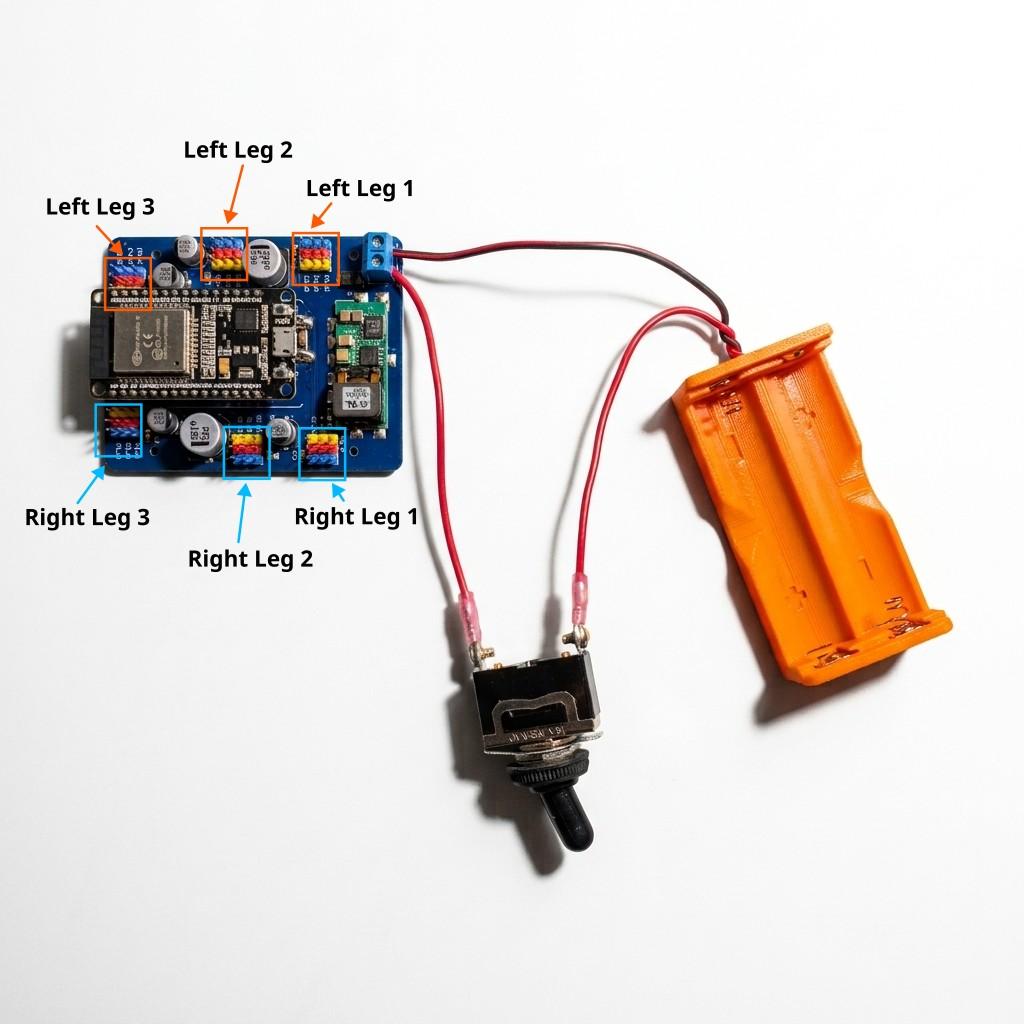
- Servo outputs: 18 numbered headers (3 per leg × 6 legs), each driver bank individually enabled by the ESP32
- Power input: 2-cell 18650 Li-ion pack (7.4V nominal), with a main power switch
- Servo compatibility: MG92B (Mochi) and 21G digital servos (Nougat)
- Control: WiFi UDP at 50 Hz, plus a web-based calibration page at 192.168.4.1
- Firmware: Open-source Arduino (arduino-esp32) with over-the-air (OTA) updates
What’s Included
- Board Only: 1 × Hexapod Controller Board with the PWM drivers and servo headers already assembled
- Board + Battery Holder + Switch: the board, plus a 2-cell 18650 battery holder and an SPST toggle switch (6mm)
- Not included: ESP32 dev board, servos and 18650 batteries
Why This Board
- Clean wiring: servo connectors and power management are built in. Plug each servo into its numbered port and you’re done.
- No soldering: the PWM drivers and headers are already assembled. Just plug in your ESP32 dev board.
- Wireless from day one: connect to the hexapod’s WiFi network to drive it, calibrate each servo live in your browser, and upload new firmware without a USB cable.
- Calibration that sticks: servo offsets are saved to EEPROM and survive power cycles.
- One board, two robots: the same board and firmware base run both Mochi and Nougat.
Getting Started
- Plug your ESP32 dev board into the controller board’s socket.
- Install Arduino IDE, add
arduino-esp32board support, and install the Adafruit PWM Servo Driver library. - Open
hexapod_esp32.ino, select ESP32 Dev Module, and upload. - Connect the 18 servos and the 2S battery pack, then switch on.
- Join the
hexapodWiFi network and openhttp://192.168.4.1to calibrate.
Safety: use protected 18650 cells only. The protection circuit guards against overcharge, over-discharge, and short circuits.
Open hardware, open firmware. Plug it in and make it walk.
Reviews
There are no reviews yet