
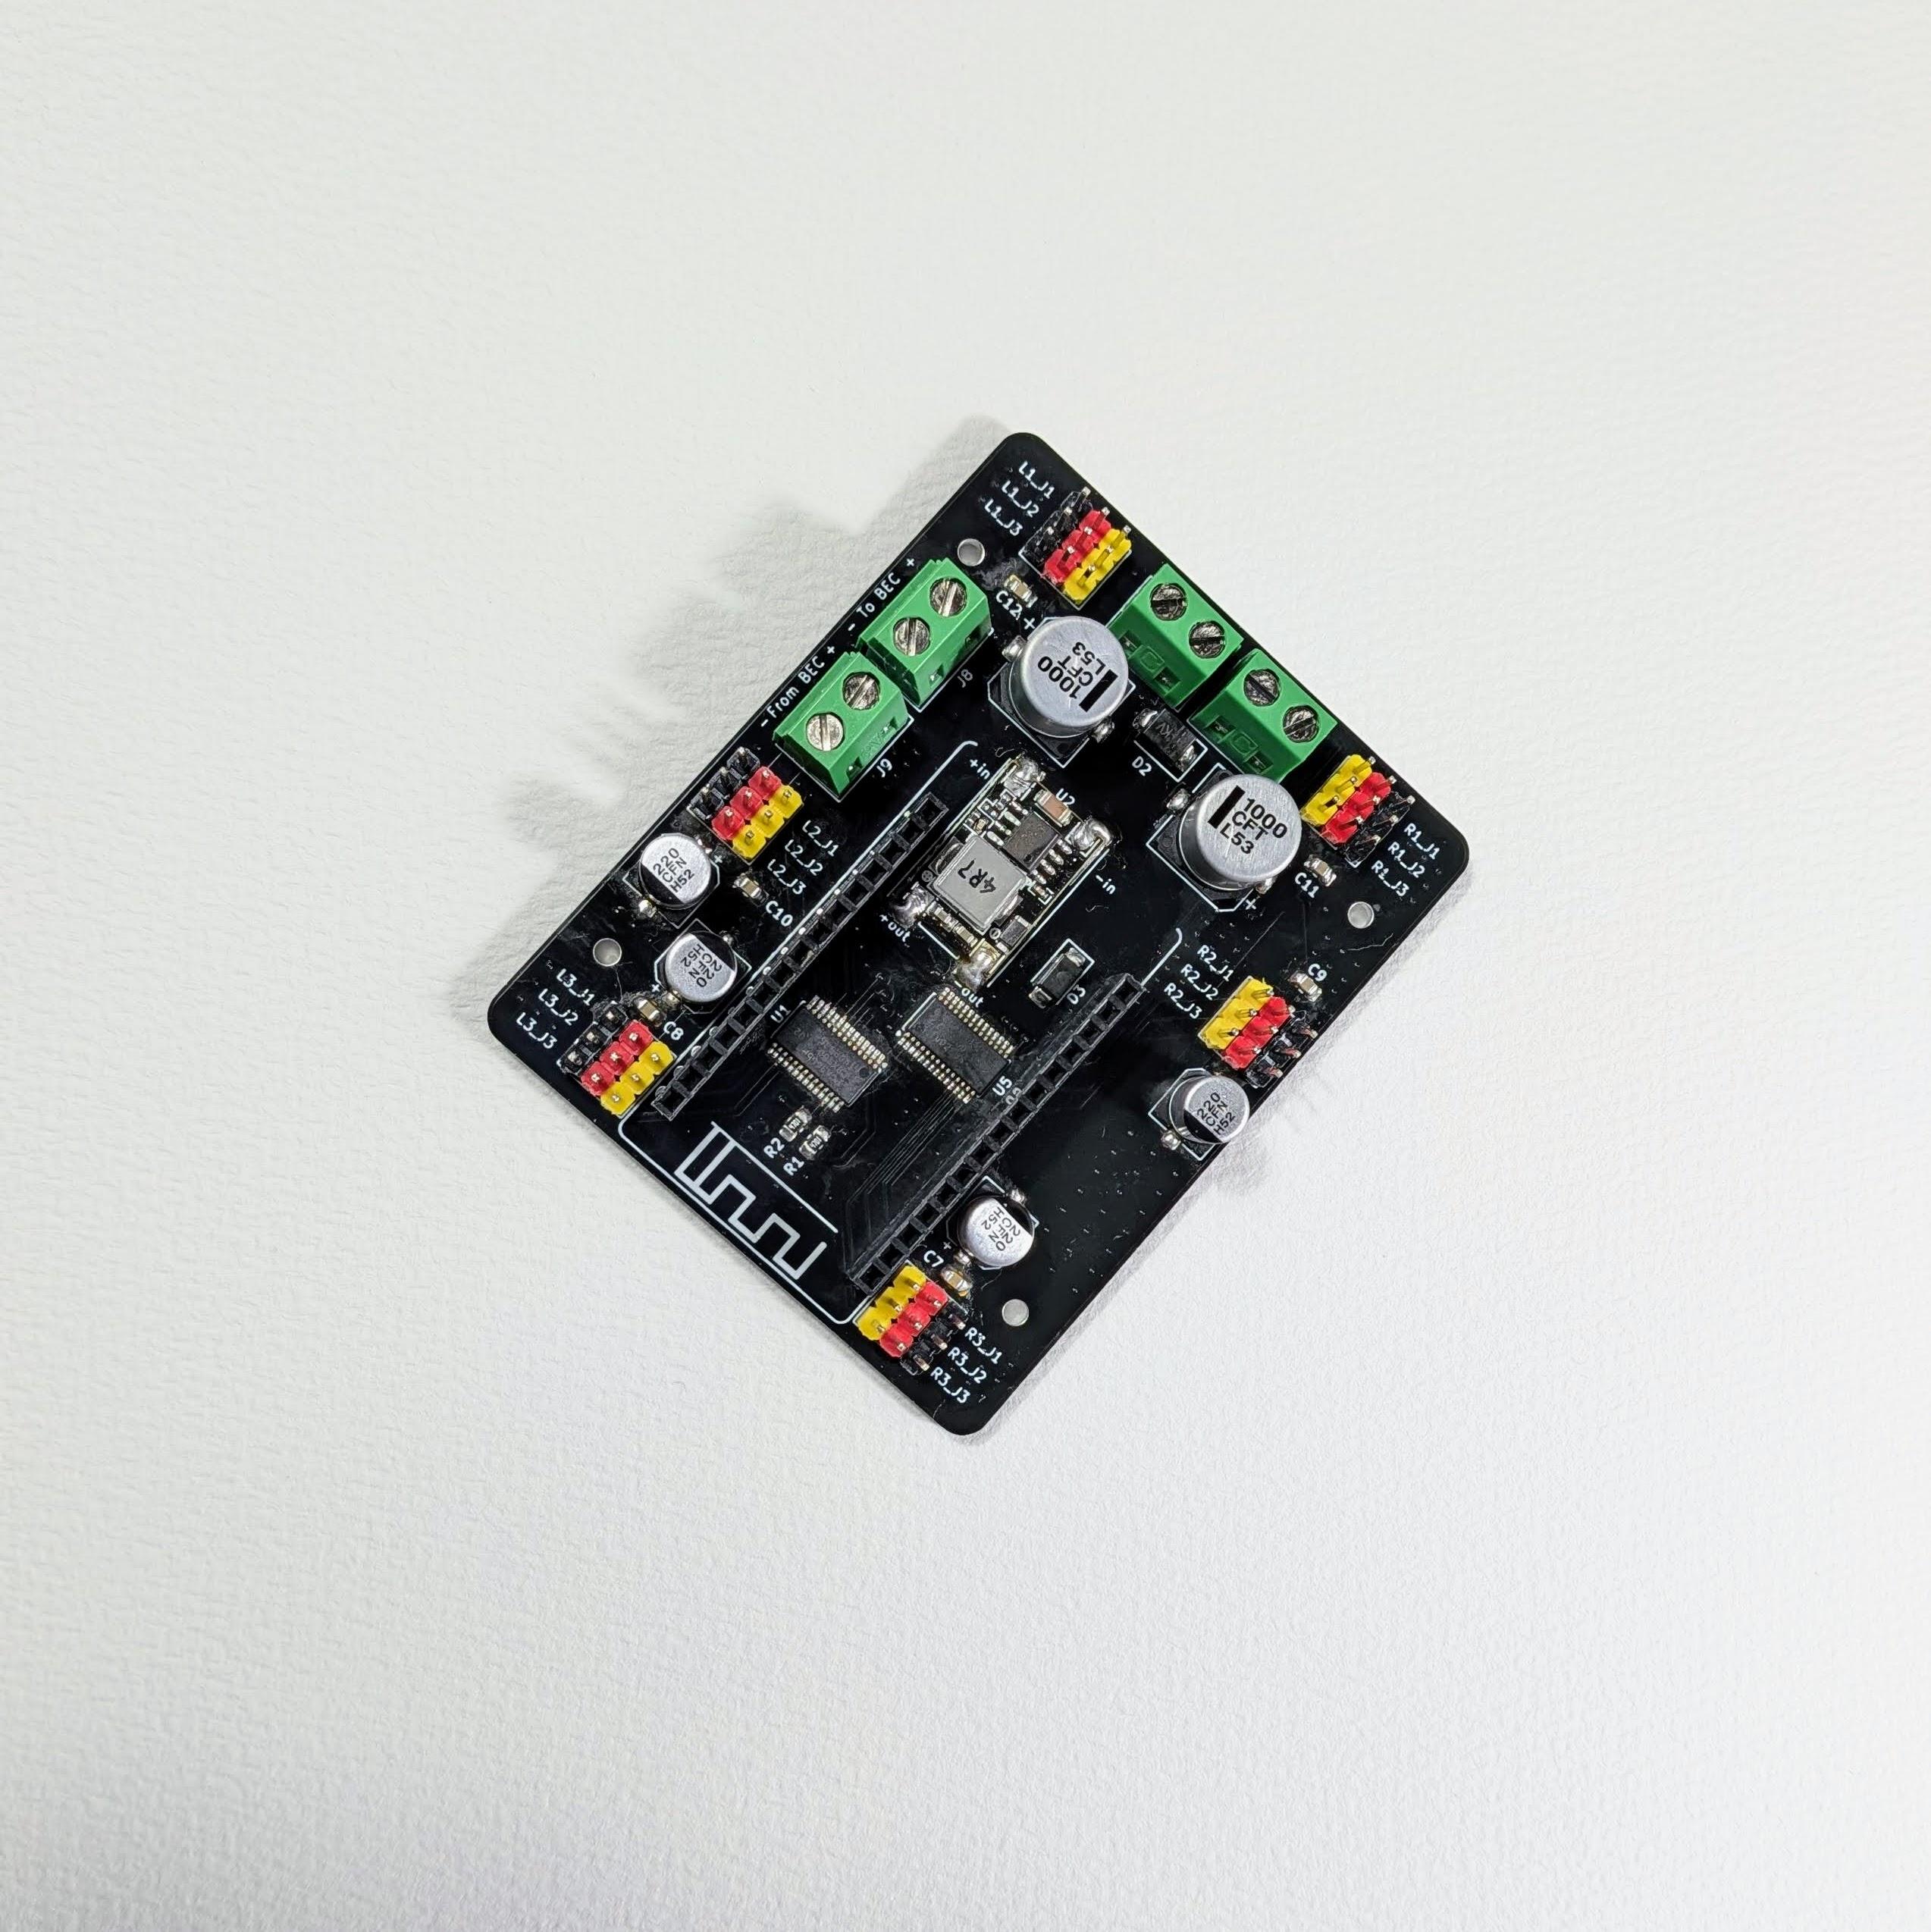
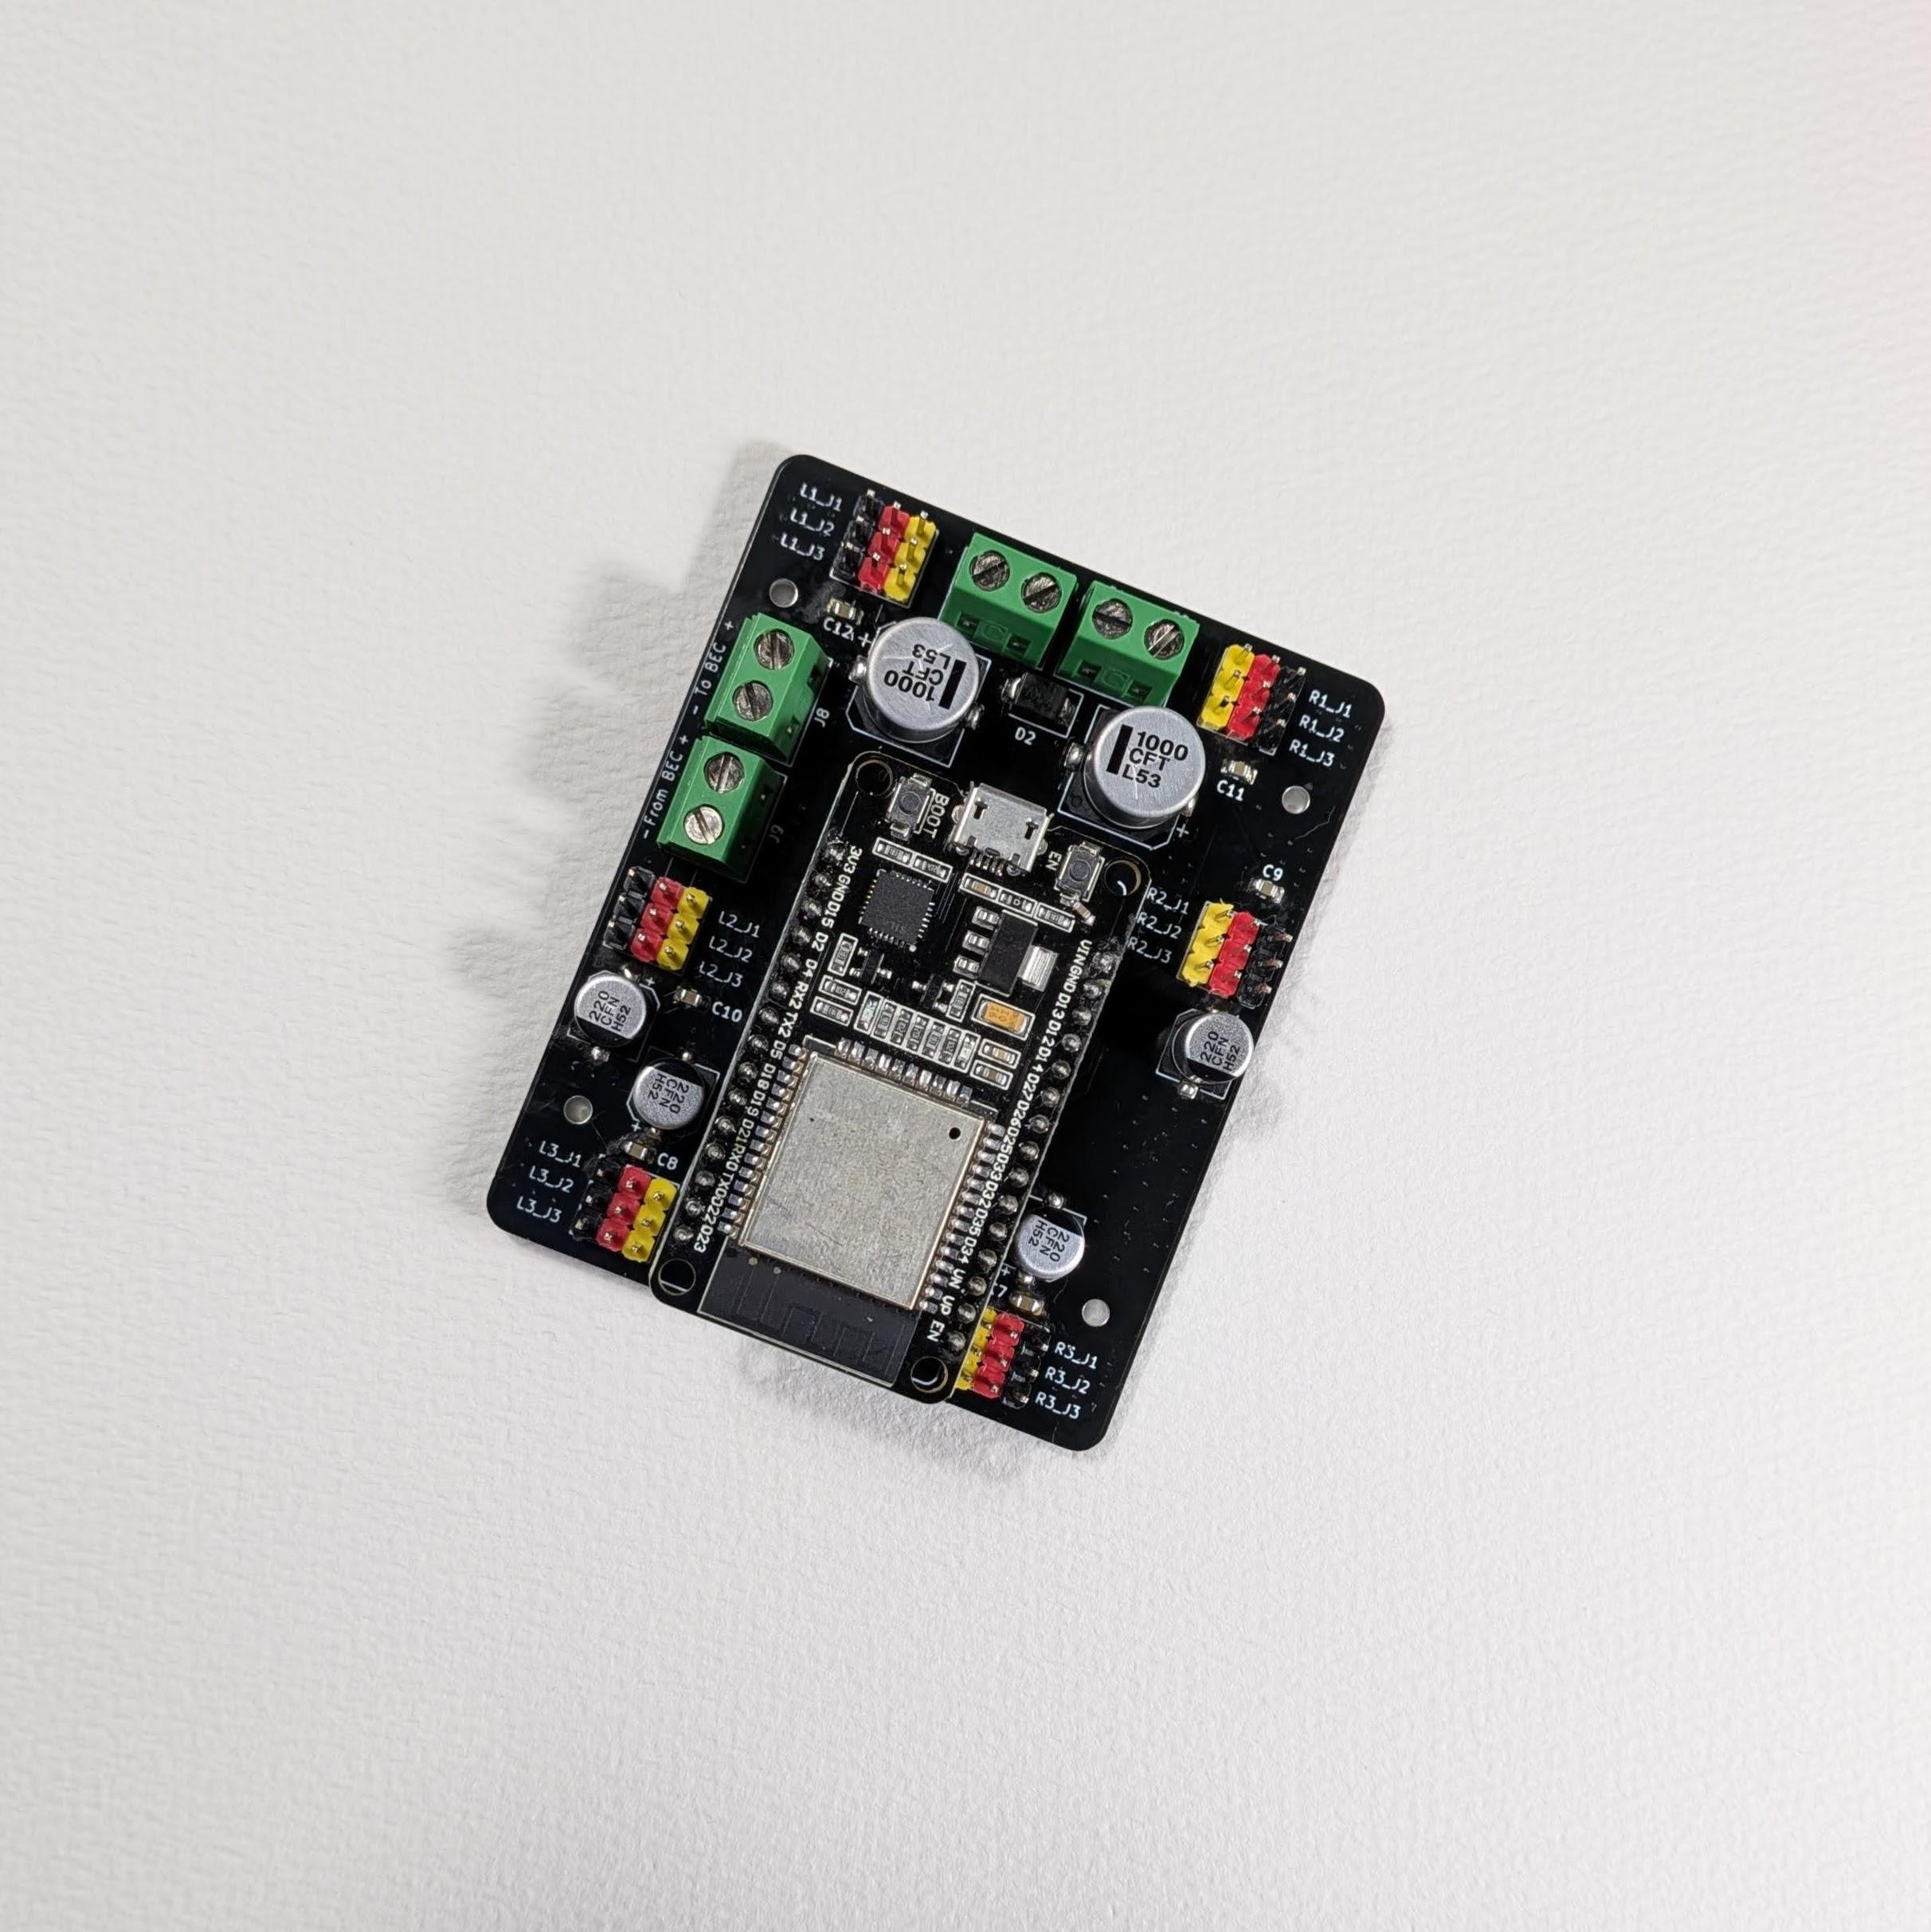
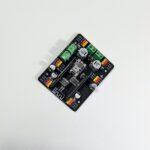
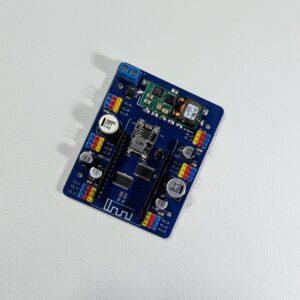
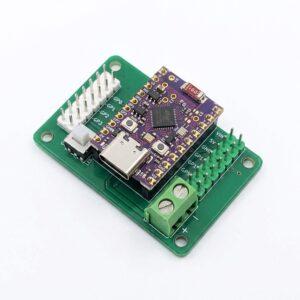
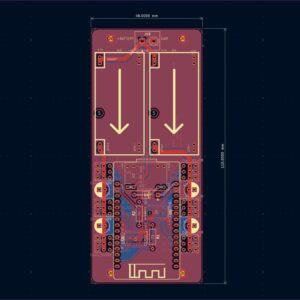
The Hexapod Controller Board (Macaroon ESP32) is the custom carrier PCB built for the RookiDroid Macaroon — the largest hexapod in the family, and the one with the hungriest servos. Every servo header, both PWM drivers and the power distribution live on one board, so there’s no breadboard and no pile of jumper wires. Plug in your ESP32 dev board, 18 servos and a 2S2P 18650 pack, flash the open-source firmware, and Macaroon is ready to walk.
Direct Drive for 25kg Servos
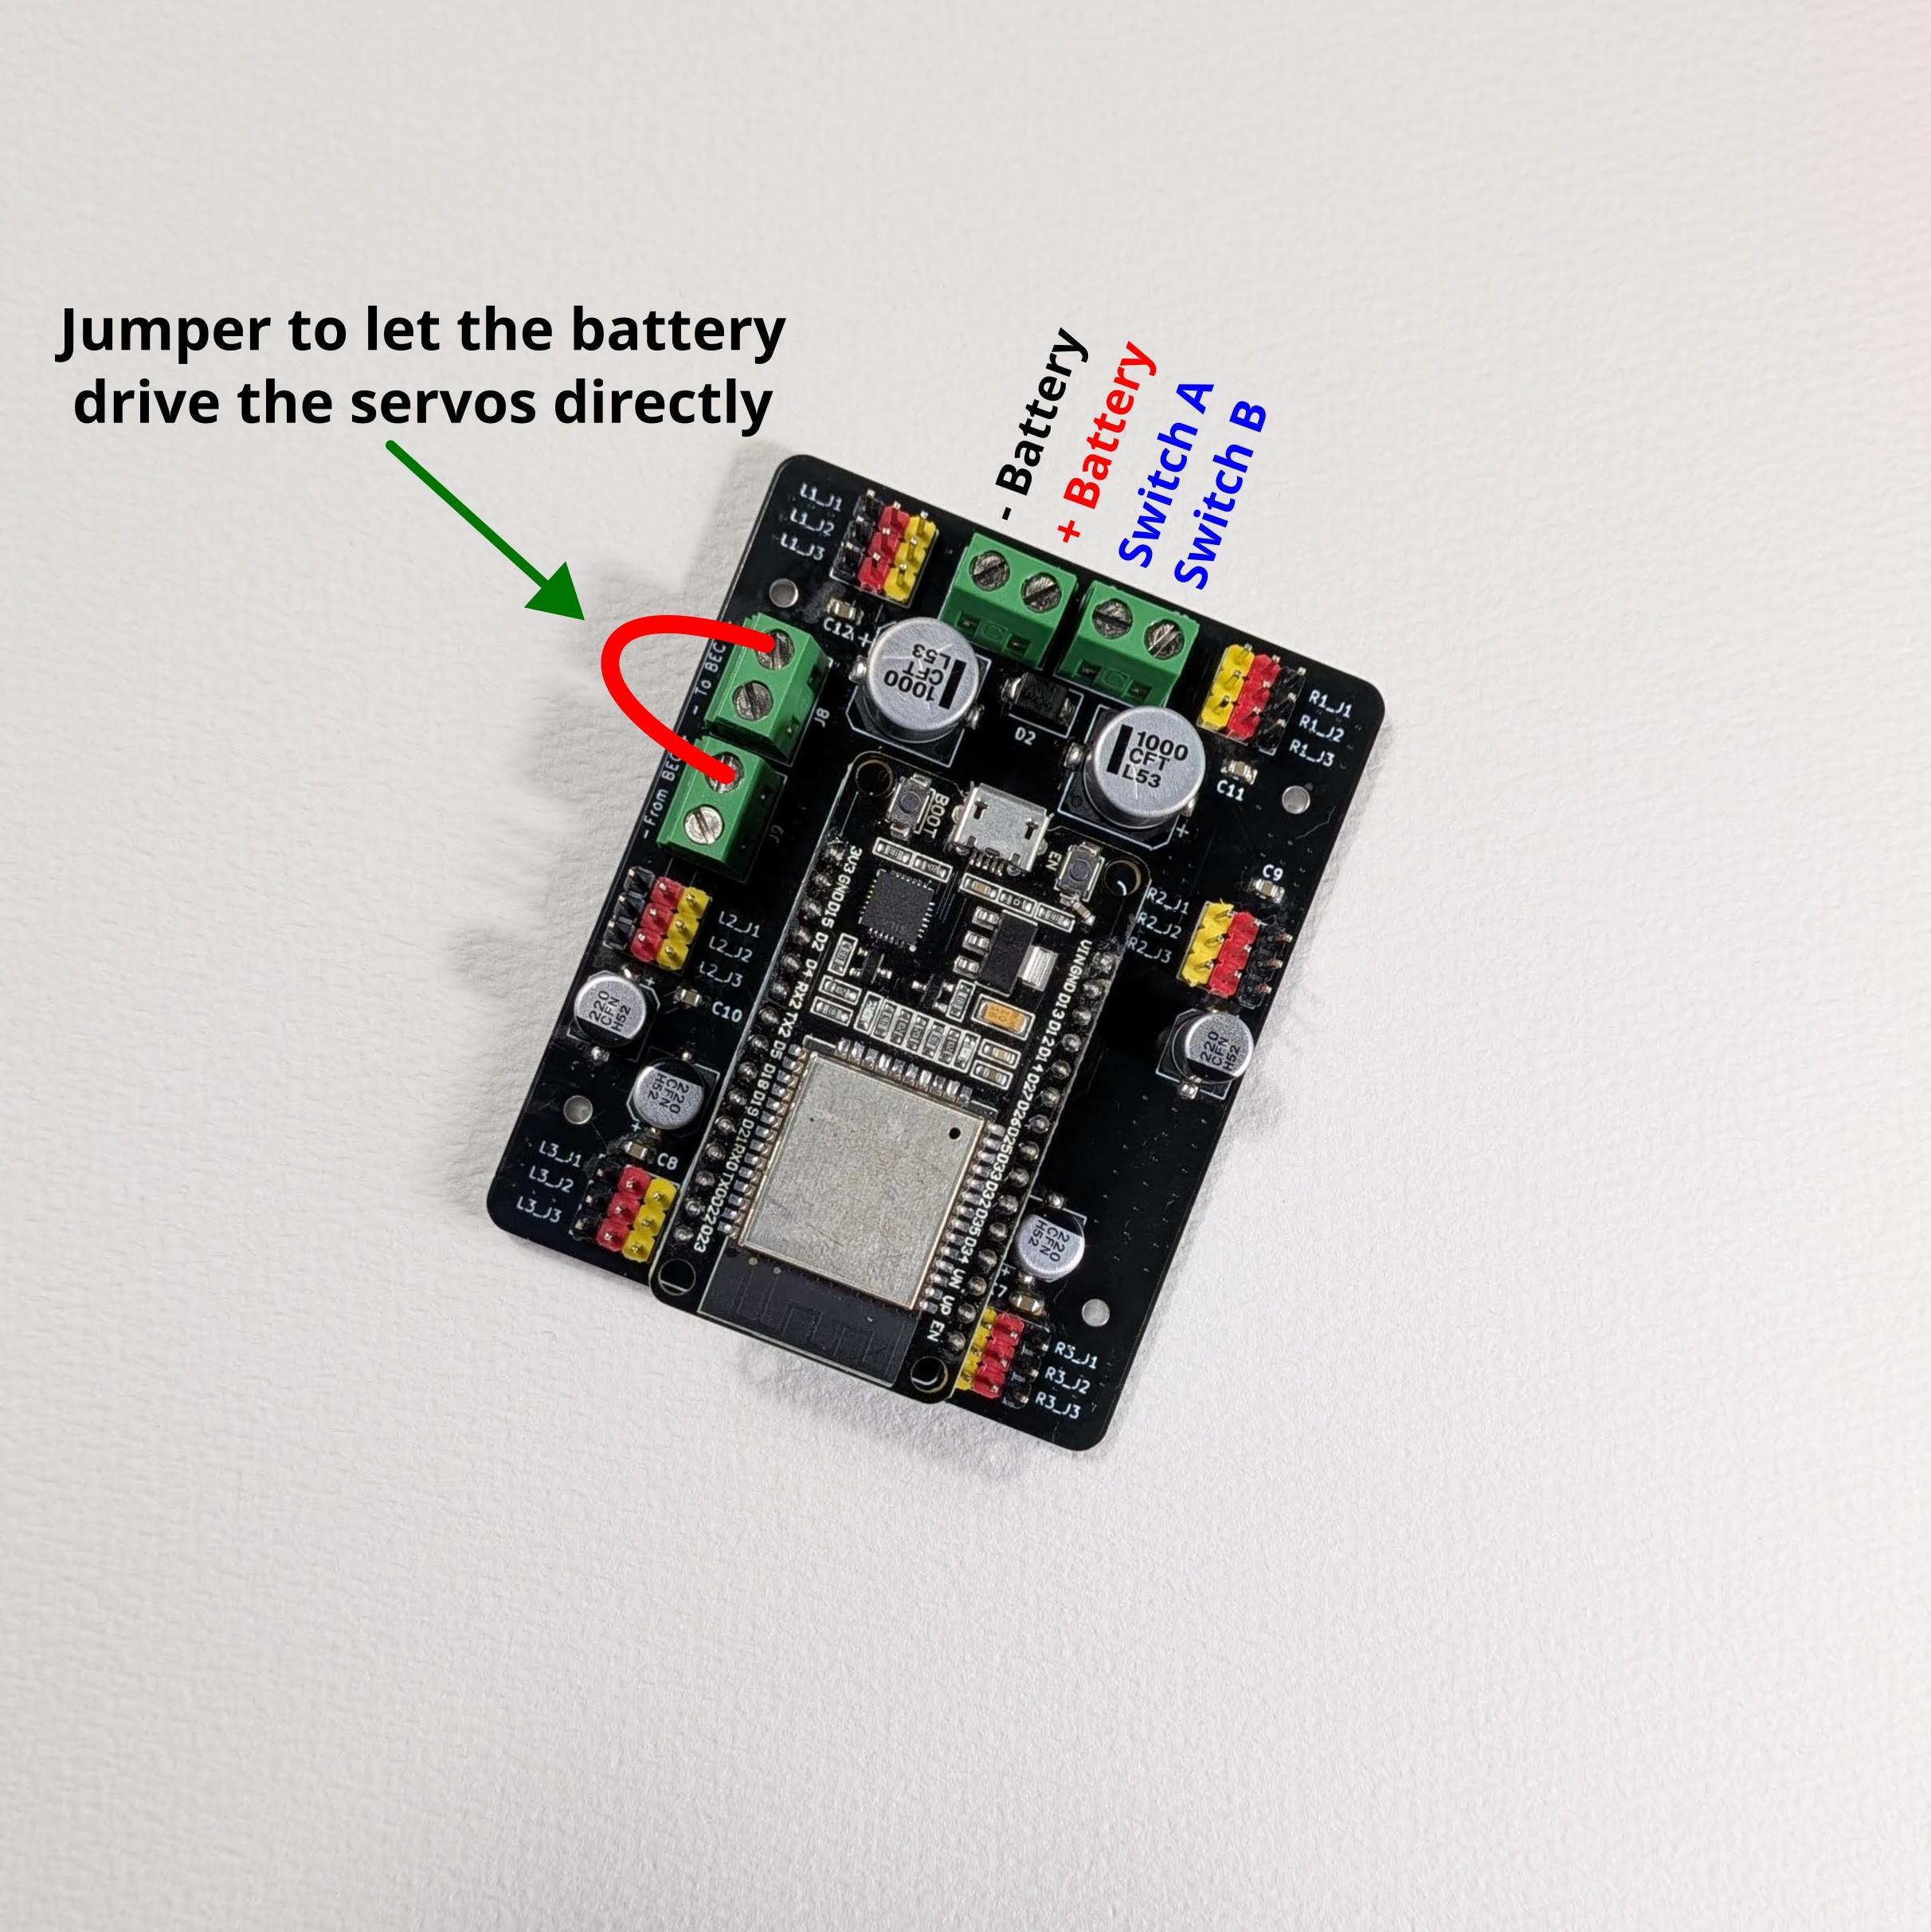
Macaroon’s 25kg servos want more than a regulated 5V or 6V rail can comfortably give them. So this board doesn’t regulate the servo rail at all — it feeds the servos straight from the battery pack.
- Full pack voltage to the servos: 7.4V nominal, up to 8.4V on a freshly charged 2S pack. No step-down converter in the servo path means no regulator ceiling and no conversion losses between the cells and the horns — the servos get everything the pack can deliver.
- Generous bulk capacitance: aluminum electrolytic capacitors sit across the servo rail to absorb the current surge when many legs swing at once, keeping the supply steady so motion stays smooth and the ESP32 doesn’t brown out mid-stride.
- Separate logic supply: an onboard step-down converter runs the ESP32 and the PWM drivers from the same pack, isolated from the servo rail’s voltage sag.
⚠️ Your servos must be rated for 8.4V. Because the pack drives them directly, a servo limited to 6V will be damaged. Check the spec sheet before you power up — this is the one compatibility rule that matters on this board.
Key Specs
- Microcontroller: socket for an ESP32 dev board
- Servo drivers: 2 × PCA9685 16-channel PWM drivers (I²C 0x40 left bank / 0x41 right bank), each bank individually enabled by the ESP32
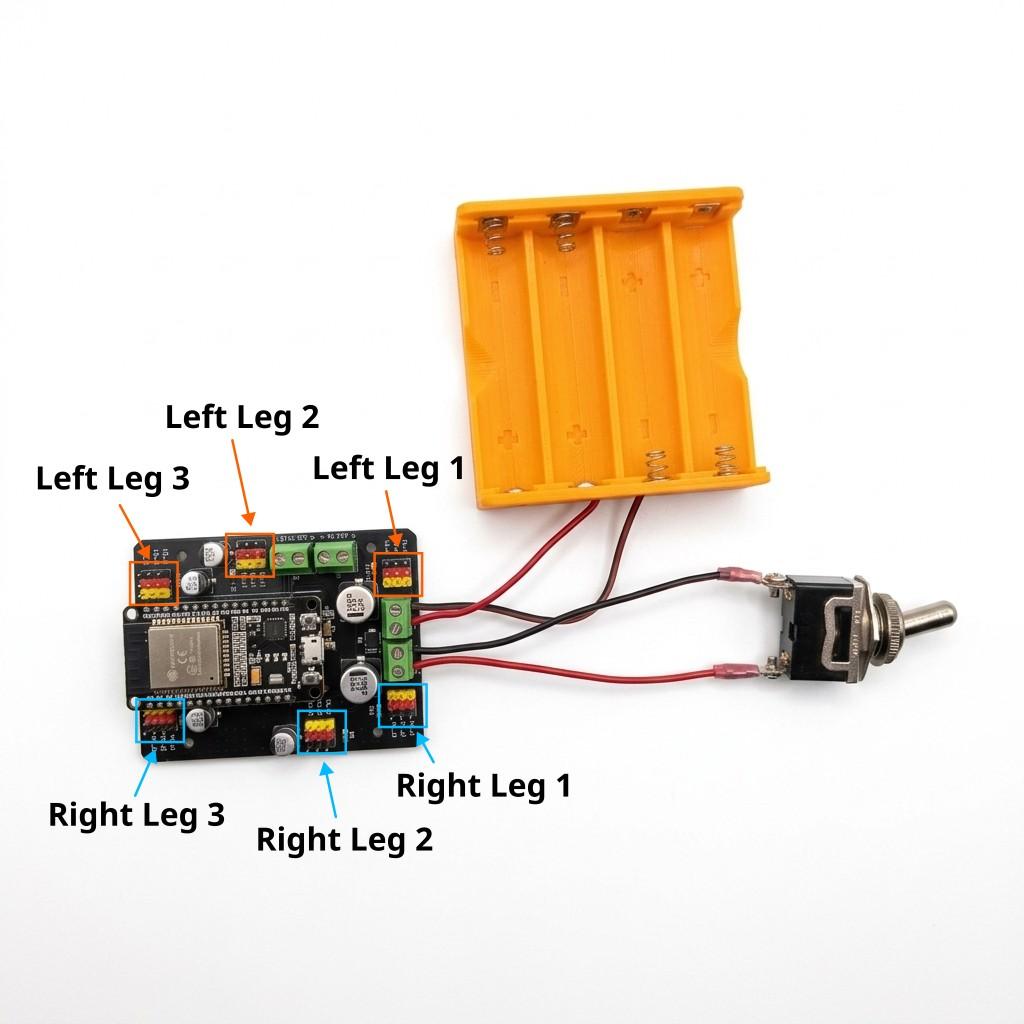
- Servo outputs: 18 numbered 3-pin headers, silkscreened per leg and joint —
L1_J1toL3_J3andR1_J1toR3_J3 - Power input: 4-cell 2S2P 18650 Li-ion pack (7.4V nominal, 8.4V charged) via screw terminals, with a main power switch in line
- Servo power: unregulated, direct from the pack, with bulk electrolytic capacitors on the rail
- Servo compatibility: 25kg digital servos rated for 8.4V operation
- Resolution: ~0.44° per tick — 410 ticks across 180° at 50 Hz
- Control: WiFi UDP with real-time pose streaming at 50 Hz, plus a web calibration page at
192.168.4.1 - Firmware: open-source Arduino (arduino-esp32) with over-the-air (OTA) updates
What’s Included
- 1 × Hexapod Controller Board (Macaroon ESP32), with both PWM drivers, the power stage and all 18 servo headers already assembled
- Not included: servos, 18650 batteries and the 3D-printed chassis
Why This Board
- Sized for the big servos: direct battery drive and heavy bulk capacitance, built specifically around Macaroon’s 25kg servos rather than adapted from a smaller robot.
- Clean wiring: plug each servo into its labeled port and you’re done. No breadboard, no jumper harness, no guessing which channel drives which joint.
- No soldering: the PWM drivers, capacitors and headers are already assembled — drop in an ESP32 dev board and go.
- Wireless from day one: join the hexapod’s WiFi network to drive it, calibrate all 18 servos live in your browser, and upload new firmware without a USB cable.
- Calibration that sticks: servo offsets are saved to EEPROM and survive power cycles.
- Open firmware: the same GPL v3 Arduino sketch that runs every RookiDroid hexapod, with a Python tool for generating your own gaits.
Getting Started
- Plug your ESP32 dev board into the controller board’s socket.
- Install Arduino IDE, add
arduino-esp32board support, and install the Adafruit PWM Servo Driver library. - Open
hexapod_esp32.ino, select ESP32 Dev Module, and upload. - Connect the 18 servos to their labeled headers and wire the 2S2P pack through the power switch.
- Switch on, join the
hexapod_macaroonWiFi network, and openhttp://192.168.4.1to calibrate.
Safety: use protected 18650 cells only and charge with a proper 2S charger. Check battery polarity twice before the first power-up — reversed polarity will destroy the board. Confirm your servos accept 8.4V before connecting them.
Open hardware, open firmware. Plug it in and make it walk.
Reviews
There are no reviews yet