
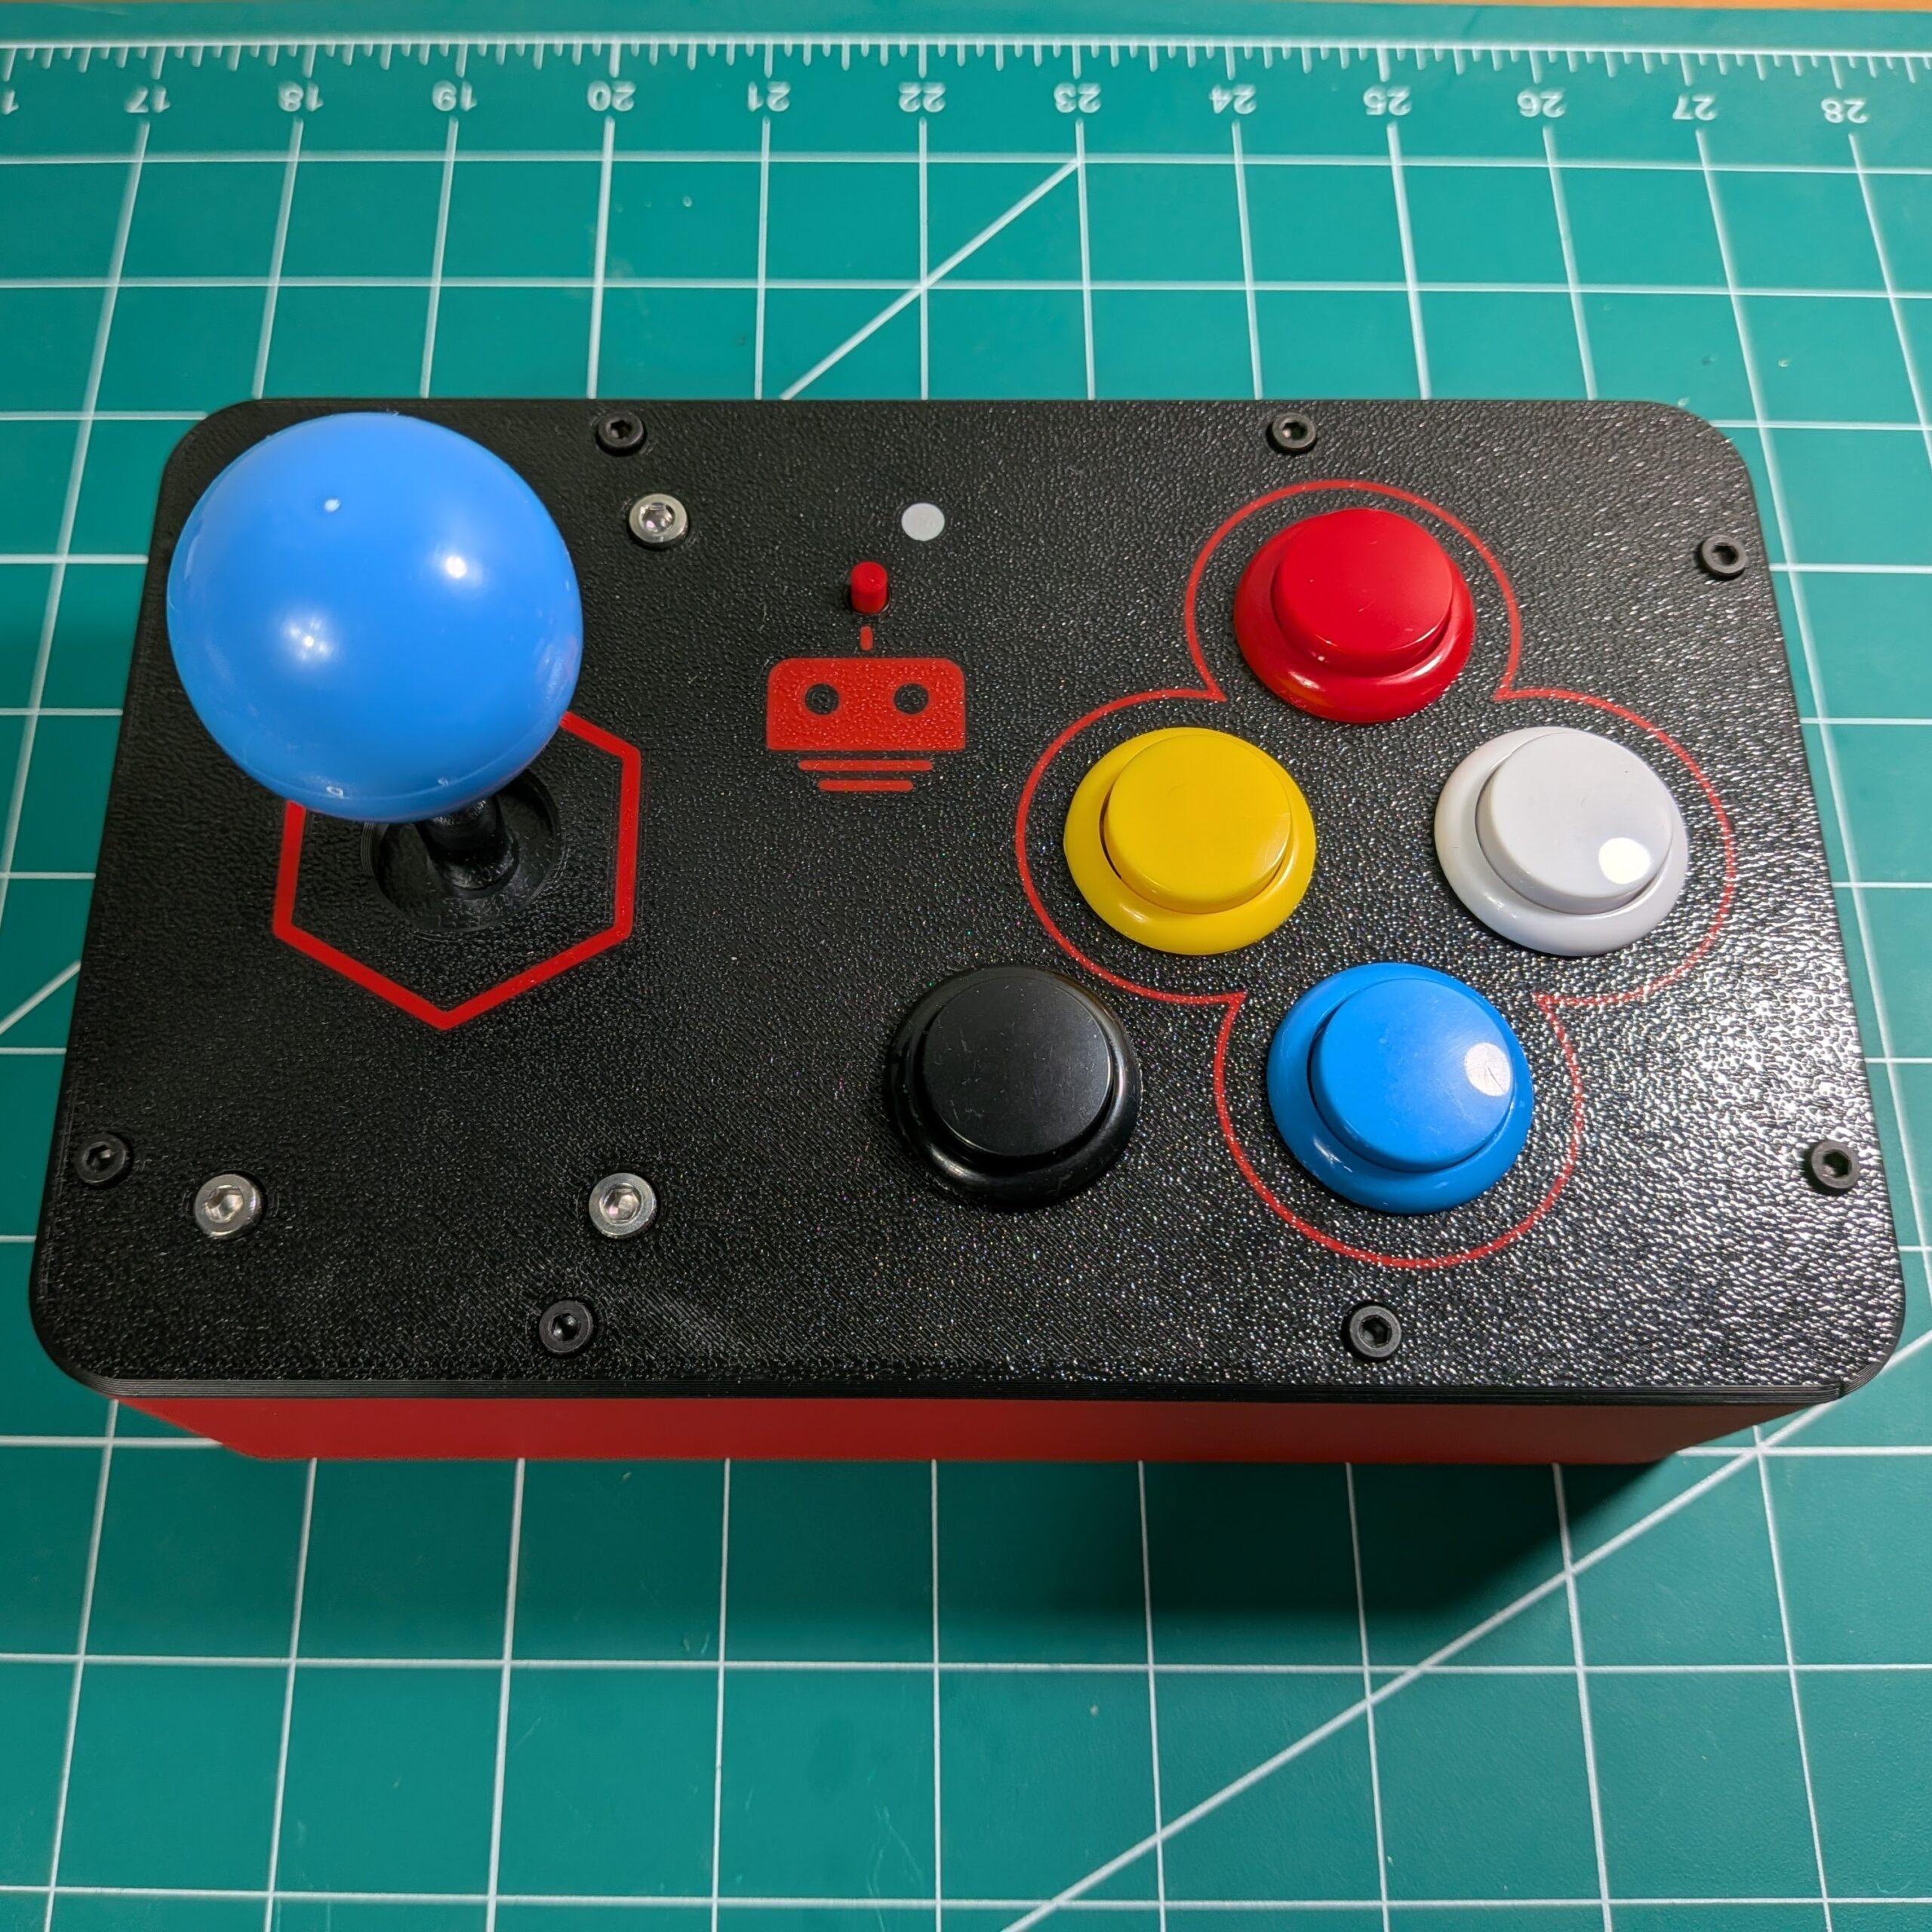
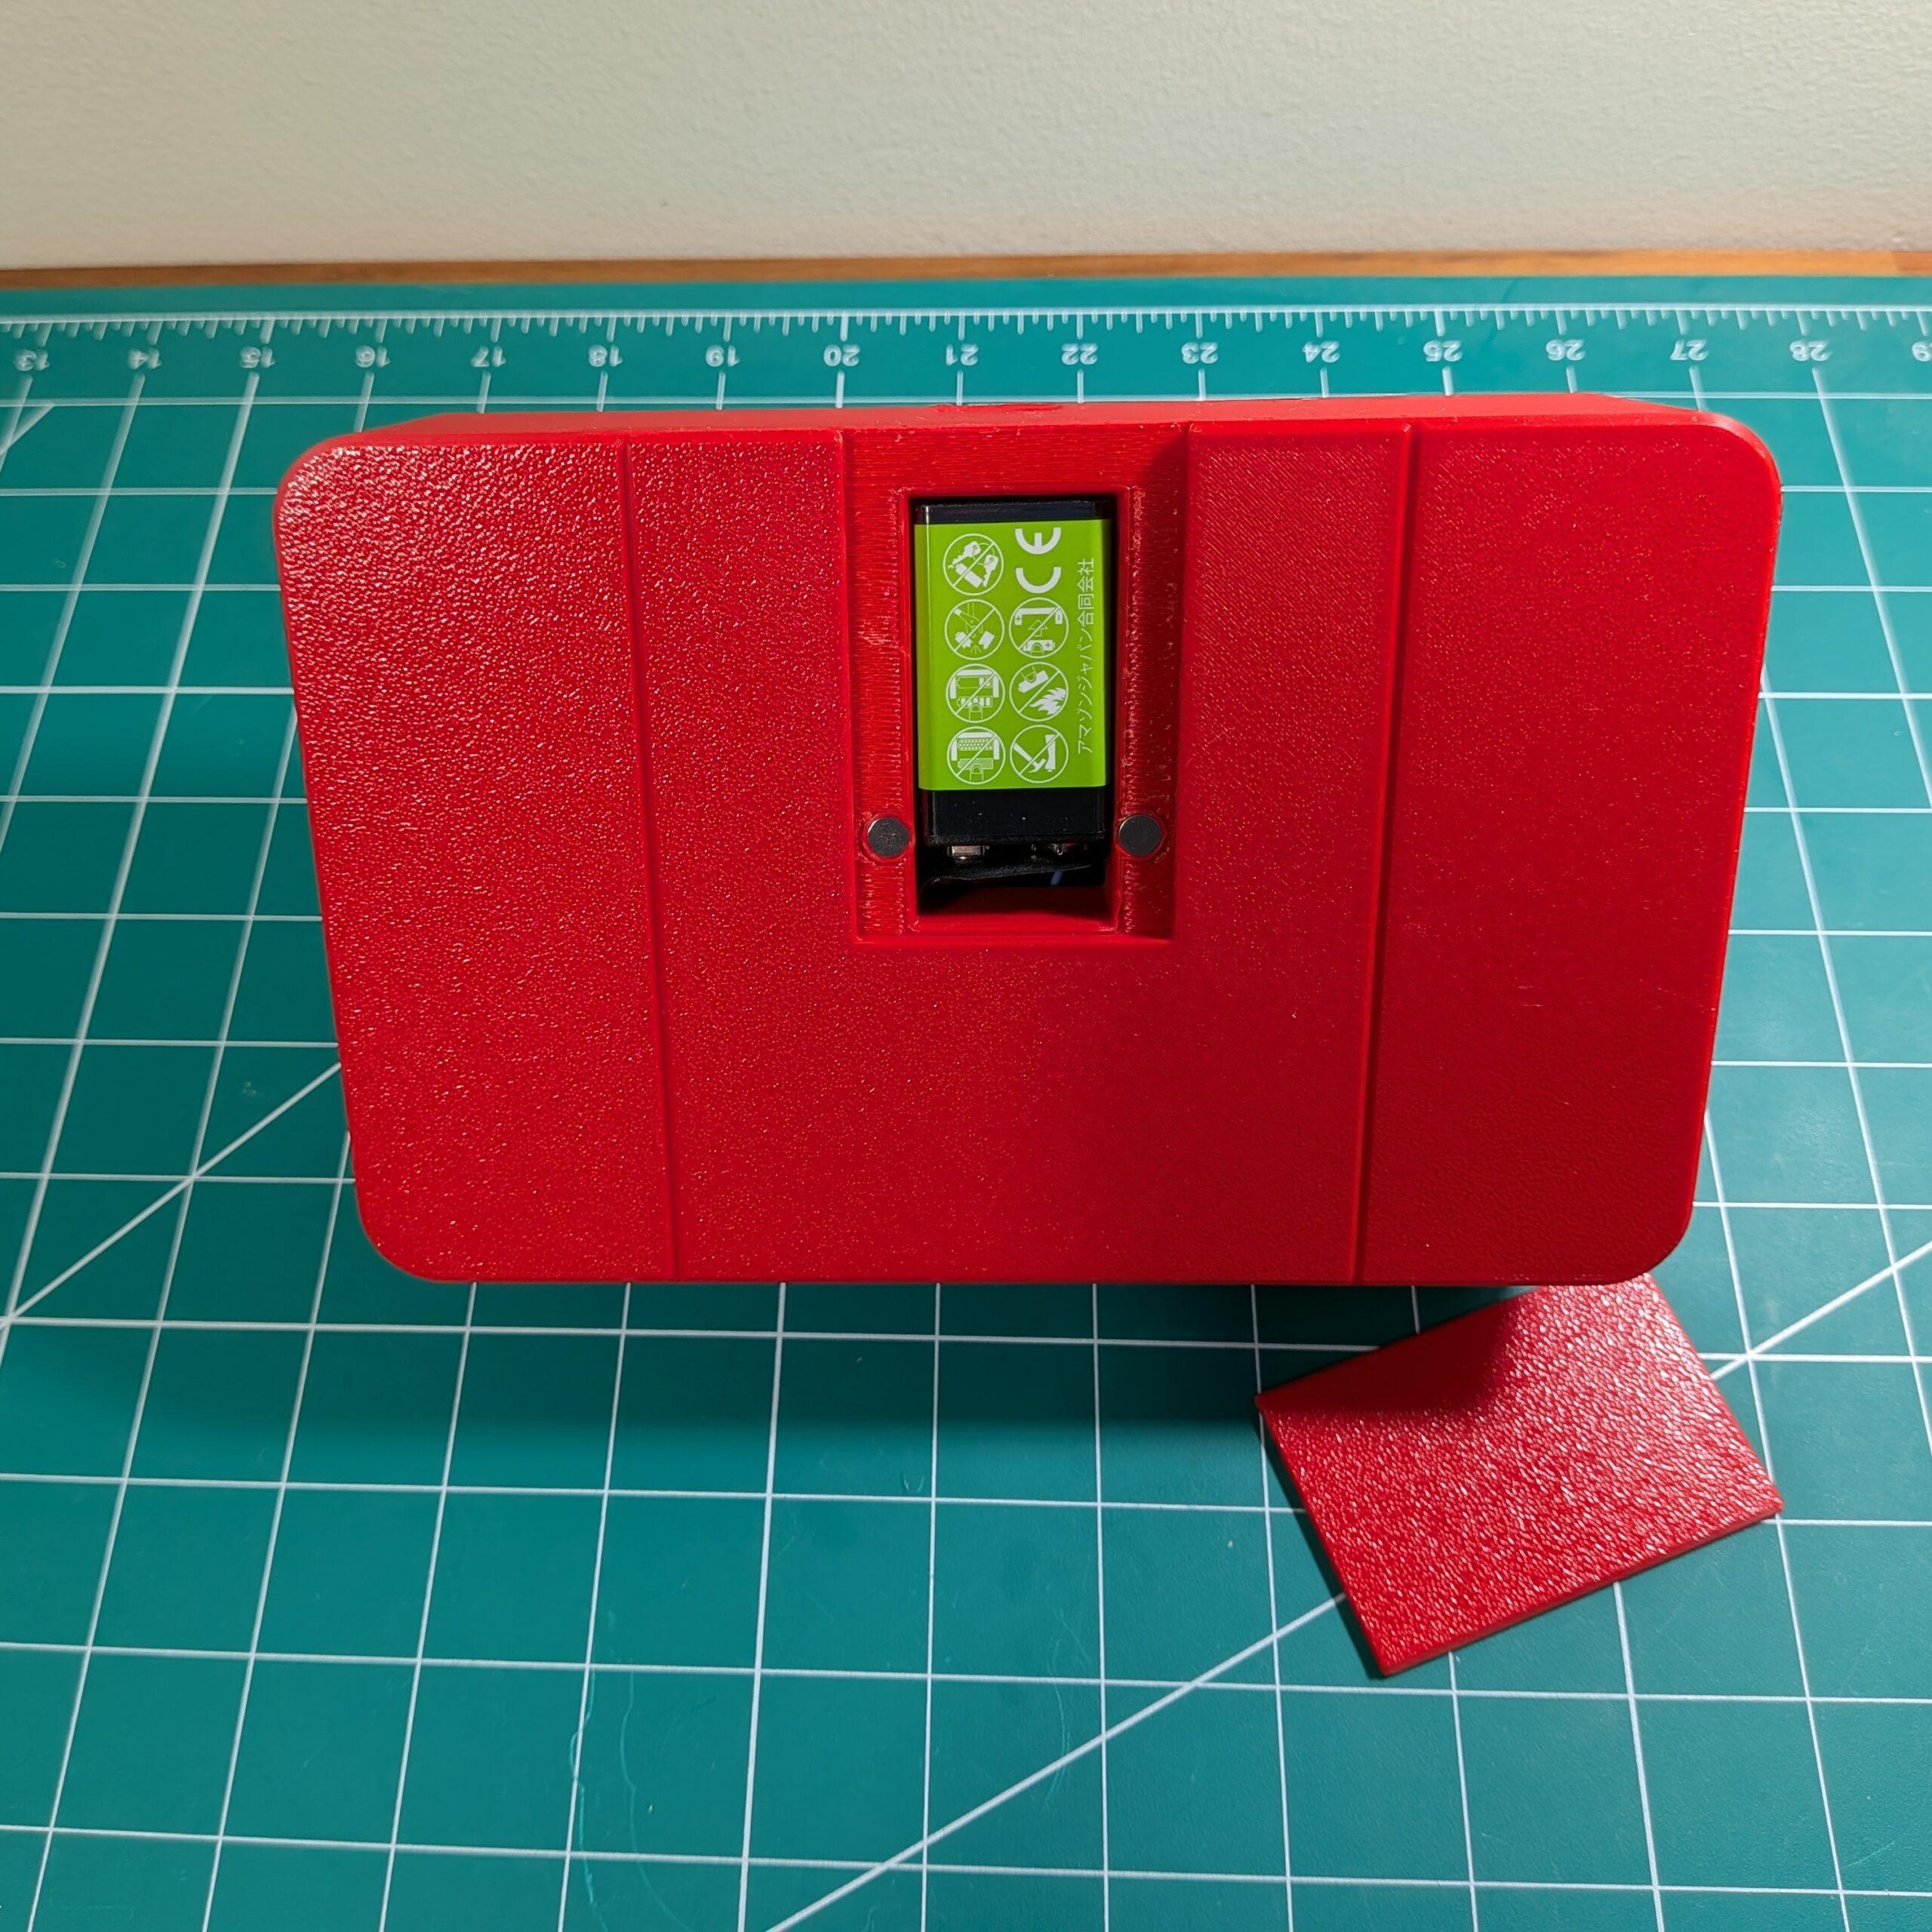
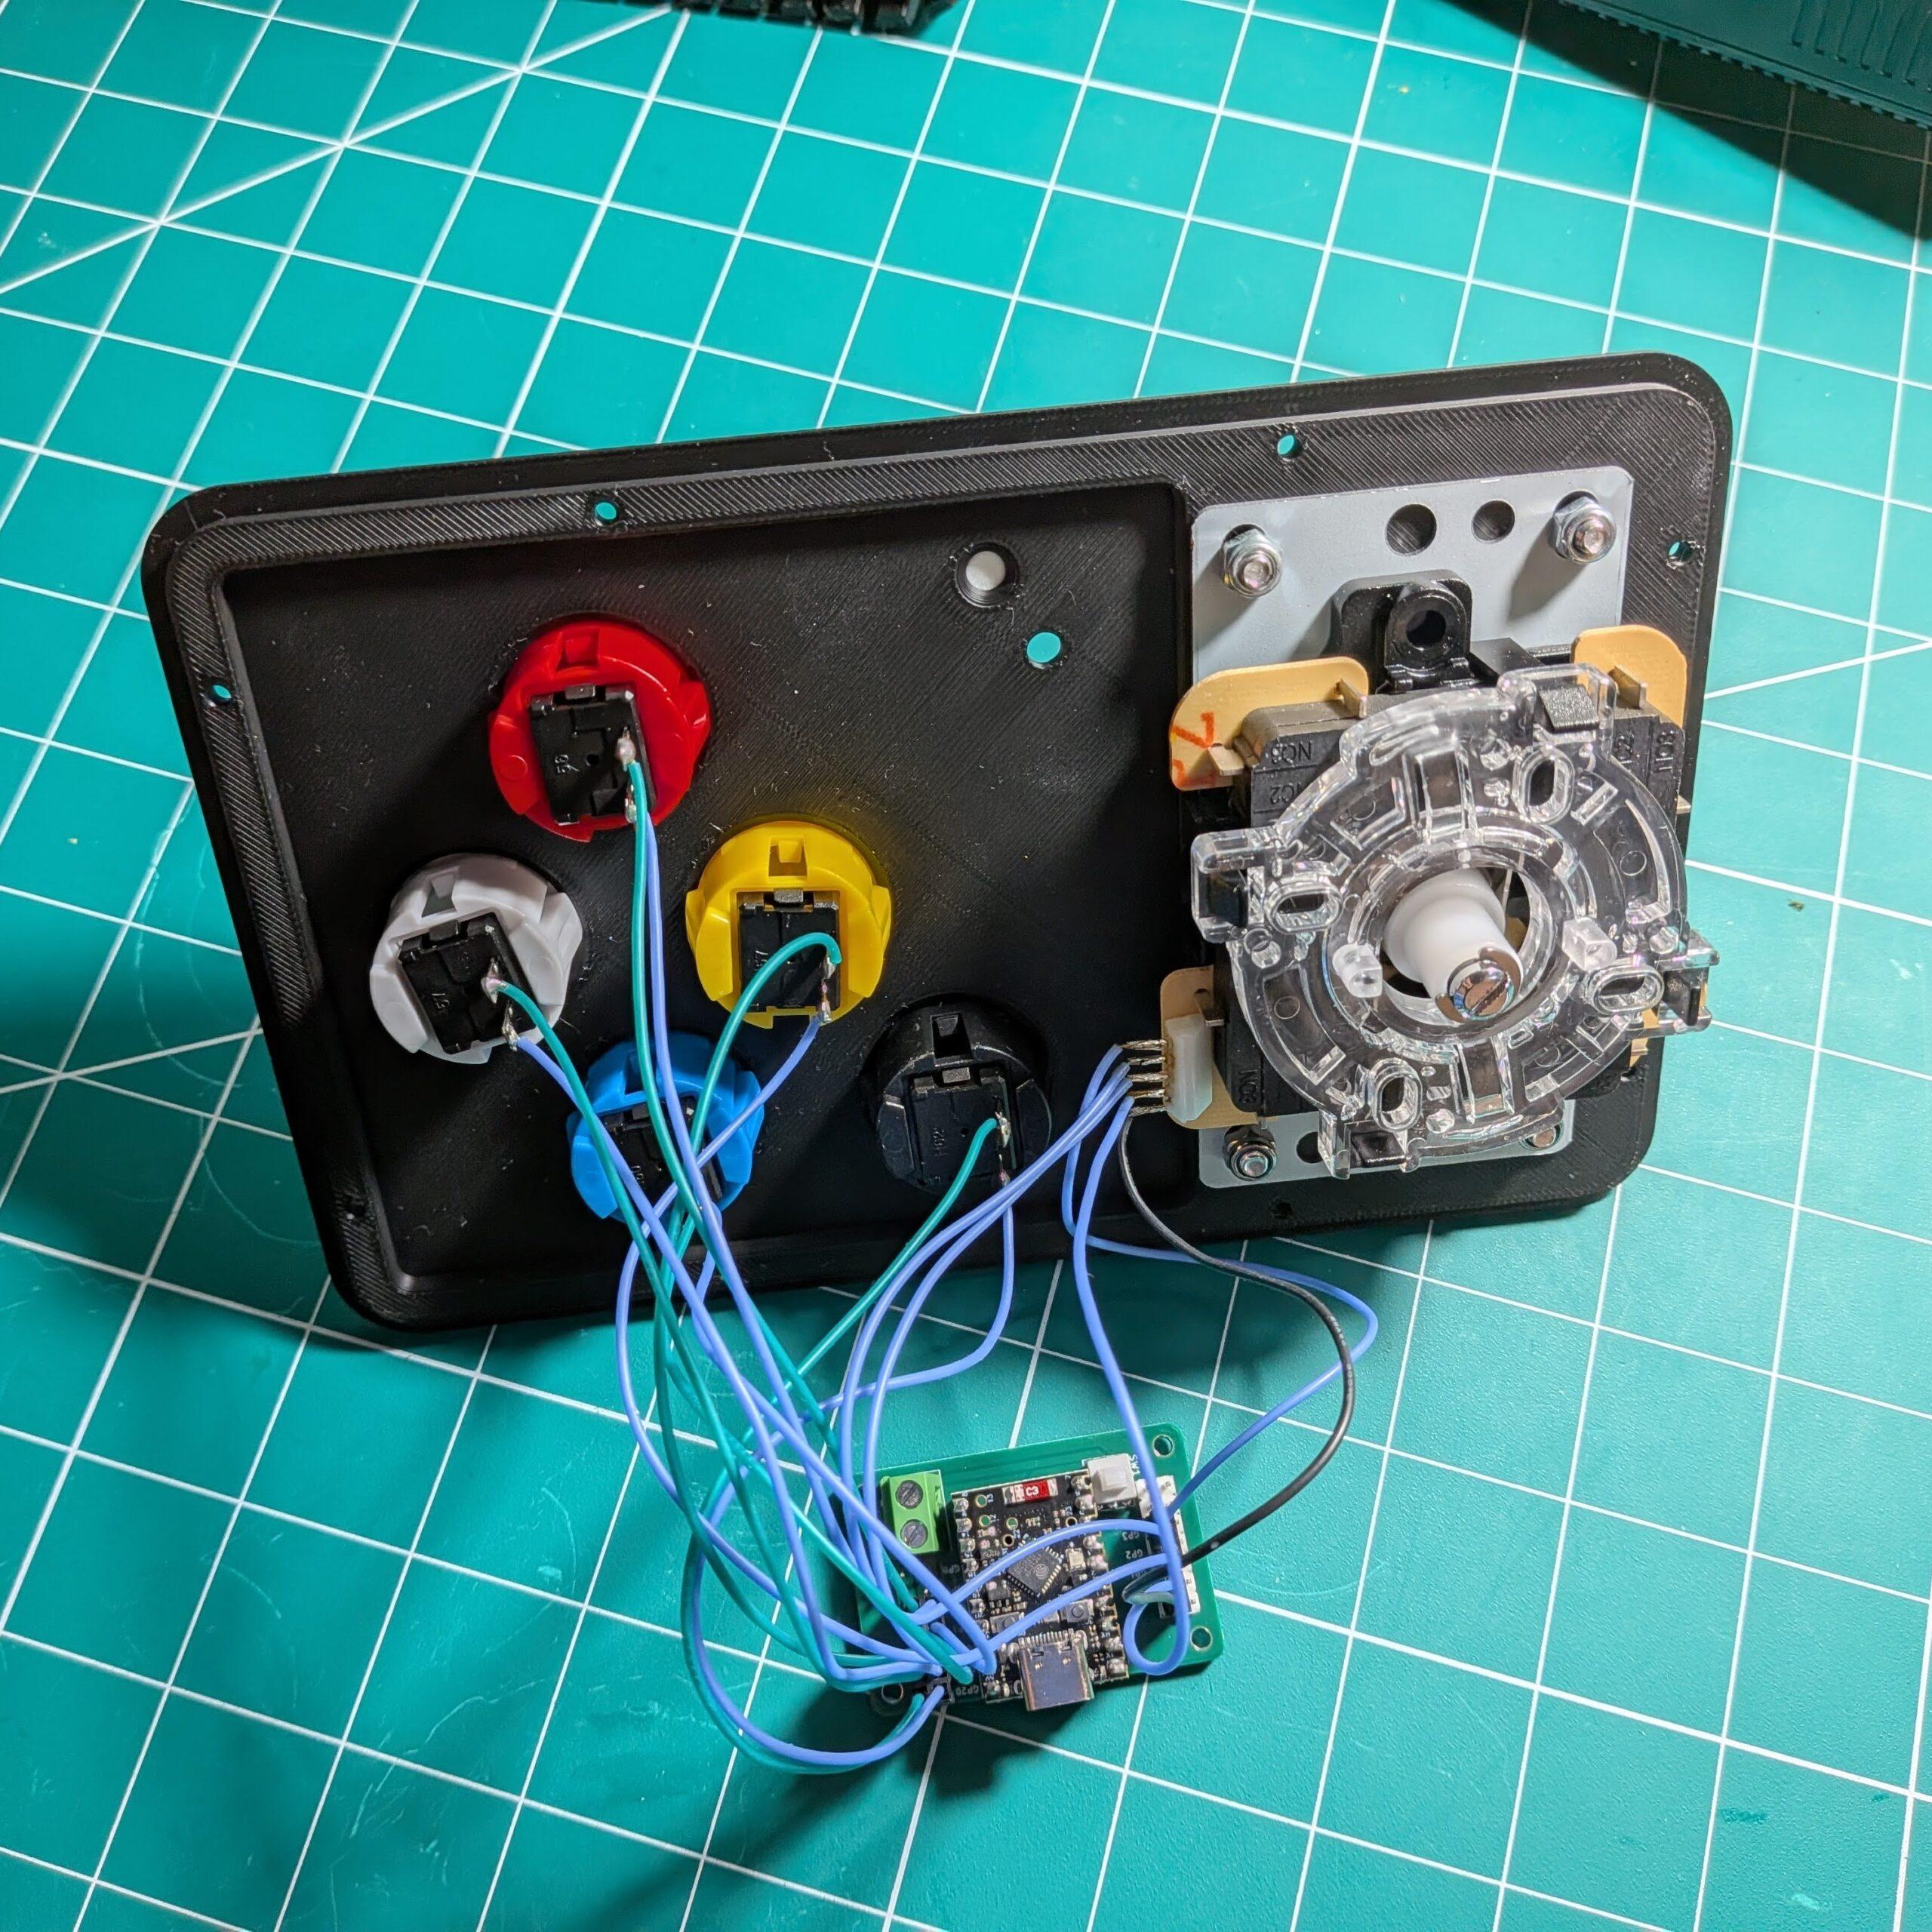
Arcade Controller is a retro-style remote for the RookiDroid hexapods — a real 4-way microswitch joystick, five 30 mm snap-in arcade buttons and an ESP32-C6, in a 3D-printed cabinet that fits in your hands. This listing includes the complete set of 3D-printable model files for that cabinet: body, top panel, bottom plate and a magnetically-latched battery cover, all in one ready-to-slice project. Print it, snap the arcade hardware in, and drive your hexapod the way you’d play a cabinet game.
Key Specs
- Inputs: 4-way microswitch joystick + 5 arcade push buttons — nine digital switches, no analog stick and no deadzone
- Controller: ESP32-C6 SuperMini on the arcade controller board
- Feedback: WS2812 RGB status LED — green when the link is up, red when it drops — visible through a window in the top panel
- Power: a single 9 V battery in a magnetic bay, stepped down on-board to 5 V, with a slide power switch
- Connectivity: 2.4 GHz WiFi — the remote joins the robot’s own access point, so no router is involved
- Control: 6-byte binary UDP packets at 20 Hz, sent continuously so the robot stops the moment you let go
- Compatibility: drives Hexapod Nougat, Mochi and Macaroon — one line of firmware picks the robot
- Materials: PLA — standard desktop 3D printer friendly, no exotic filament needed
What’s Included
- A ready-to-slice
arcade.3mfBambu Studio project containing the whole cabinet — arcade body, cover, bottom plate and battery cover - Print settings saved in the project: 0.4 mm nozzle, 0.2 mm layer height, PLA
- A multi-material top panel, so the logo and the button outlines print in a second color — or print it in a single color if you don’t have an AMS
- The Fusion 360 source (
arcade.f3d) is on GitHub under the MIT license, so the design is yours to modify
What You’ll Need to Finish the Build
The printed cabinet is one half of the remote. To get it driving a robot you’ll also need:
- An arcade controller board — or a bare ESP32-C6 SuperMini wired straight to the switches
- 1 × microswitch arcade joystick — 97 × 65 mm mounting plate, ball top, 5-pin harness
- 5 × 30 mm snap-in arcade buttons with 2-terminal microswitches, in any colors you like
- 1 × 9 V battery and a snap connector with flying leads
- ~11 jumper wires (2.8 mm spade or Dupont, 150–200 mm) for the button terminals
- Hardware: 8 × M3×10mm screws and nuts, 4 × M4×10mm screws and nuts, 4 × M2×4mm screws, and 4 × 6mm × 2mm magnets
- Tools: a hex key set and a small screwdriver. No soldering is needed with the controller board
Real Arcade Feel
- Microswitch everything — the joystick and all five buttons click. Nine plain switches to ground, read directly by the ESP32-C6.
- Instant stop — the remote re-sends the current command every 50 ms, so releasing a control stops the robot right away. No stop button to find.
- Diagonals from the gate — push the stick between two directions and the robot walks that way, exactly like an 8-way cabinet.
- Turbo — hold the up button while pushing the stick up (or down with down) for the fast gaits.
- Modifier button — the button sitting on its own turns the direction cluster into body pitch, roll, yaw and twist.
- Status at a glance — the RGB LED behind the top panel tells you whether the robot is listening.
Works With Every Hexapod
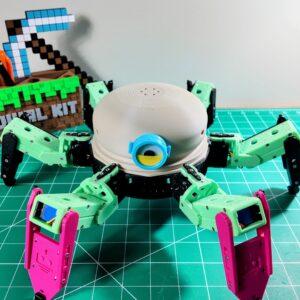
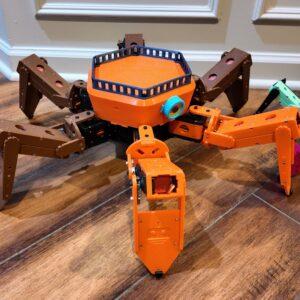
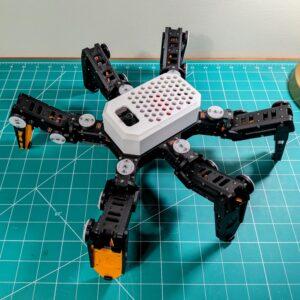
The same remote drives all three RookiDroid hexapods — they share one binary UDP protocol, each hosting its own WiFi access point:
- Hexapod Nougat — network
hexapod_nougat - Hexapod Mochi — network
hexapod - Hexapod Macaroon — network
hexapod_macaroon
Change one line in the sketch to pick your robot. Anything else that accepts the same 6-byte packet can be driven from this remote too.
Open From End to End
The cabinet, the firmware and the protocol are all open source and MIT licensed. The full project — print files, Fusion 360 source, Arduino sketch, wiring diagram and pin map — is on GitHub, and every build step is documented on the RookiDroid site.
Nine switches, one cabinet, no deadzone. Print it and take the controls.
Reviews
There are no reviews yet